Blade Cartridge Removal & Installation
Mobius M108S Trimmer
Blade Cartridge Removal & Installation
Blade Cartridge Removal & Installation
Step by Step Installation & Removal
01

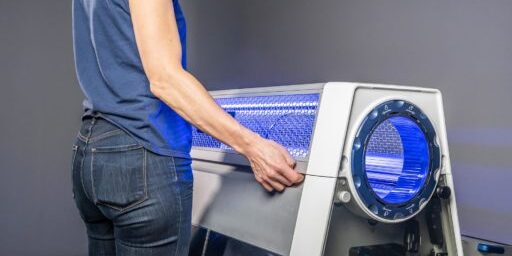
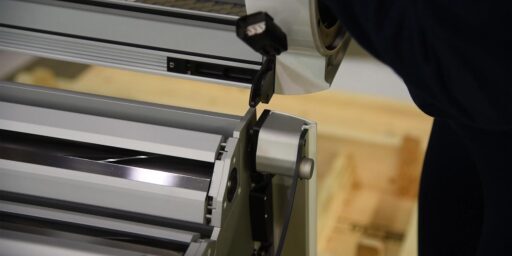
Start by opening up the hood on your M108S Trimmer.
02

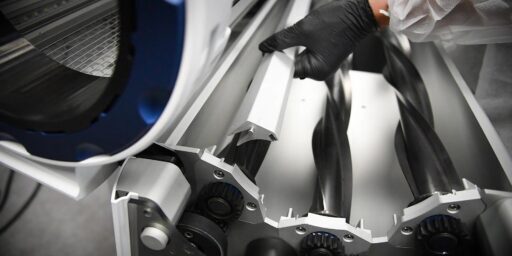
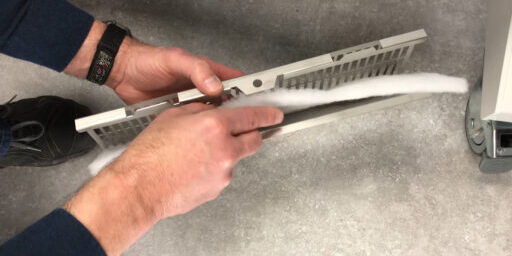
Each blade cartridge is made of three components. The bedknife the spacer bar, and the helical blade underneath.
03

Start by removing the three bedknives, Simply lift them out and set them aside.
04

We always recommend using rolling racks or shelving for removal and storage of your blade cartridge.
05

Next you'll remove the spacer bars. Like the bedknives, you just lift them out, and set them aside.
06

Now you'll remove the helical blades. They are the heaviest of the three components, so make sure you get a good grip and use both hands. You may want to wear padded gloves to protect your palms and fingers.
07

Start with the helical blades. One end has a gear, which fits to the gears on the side of the M108S. Make sure the helical blades are seated properly at both sides.
08

Next you'll install the spacer bars. Each spacer bar has a pin on one side, which goes on the GEAR SIDE of the M108S. If you're facing the machine with the lid open, that would be the outfeed, or LEFT side.
09

The spacer bars have a tongue and groove design, with the groove being on the spacer bar and the tongue being on the M108S body.
10

Finally, you'll replace the bedknives. Like the spacer bars, they have a tongue and groove design and a pin on one side, so that they can only be installed one way. That's it! Close the lid and you're done, fresh set of blades, ready to trim.
