Tumbler Installation & Removal
Mobius M108S Trimmer
Tumbler Installation & Removal
Make sure to have the lid open when the tumbler is not under tension so that the wires are not caught on the blade components.
Tumbler Installation
01
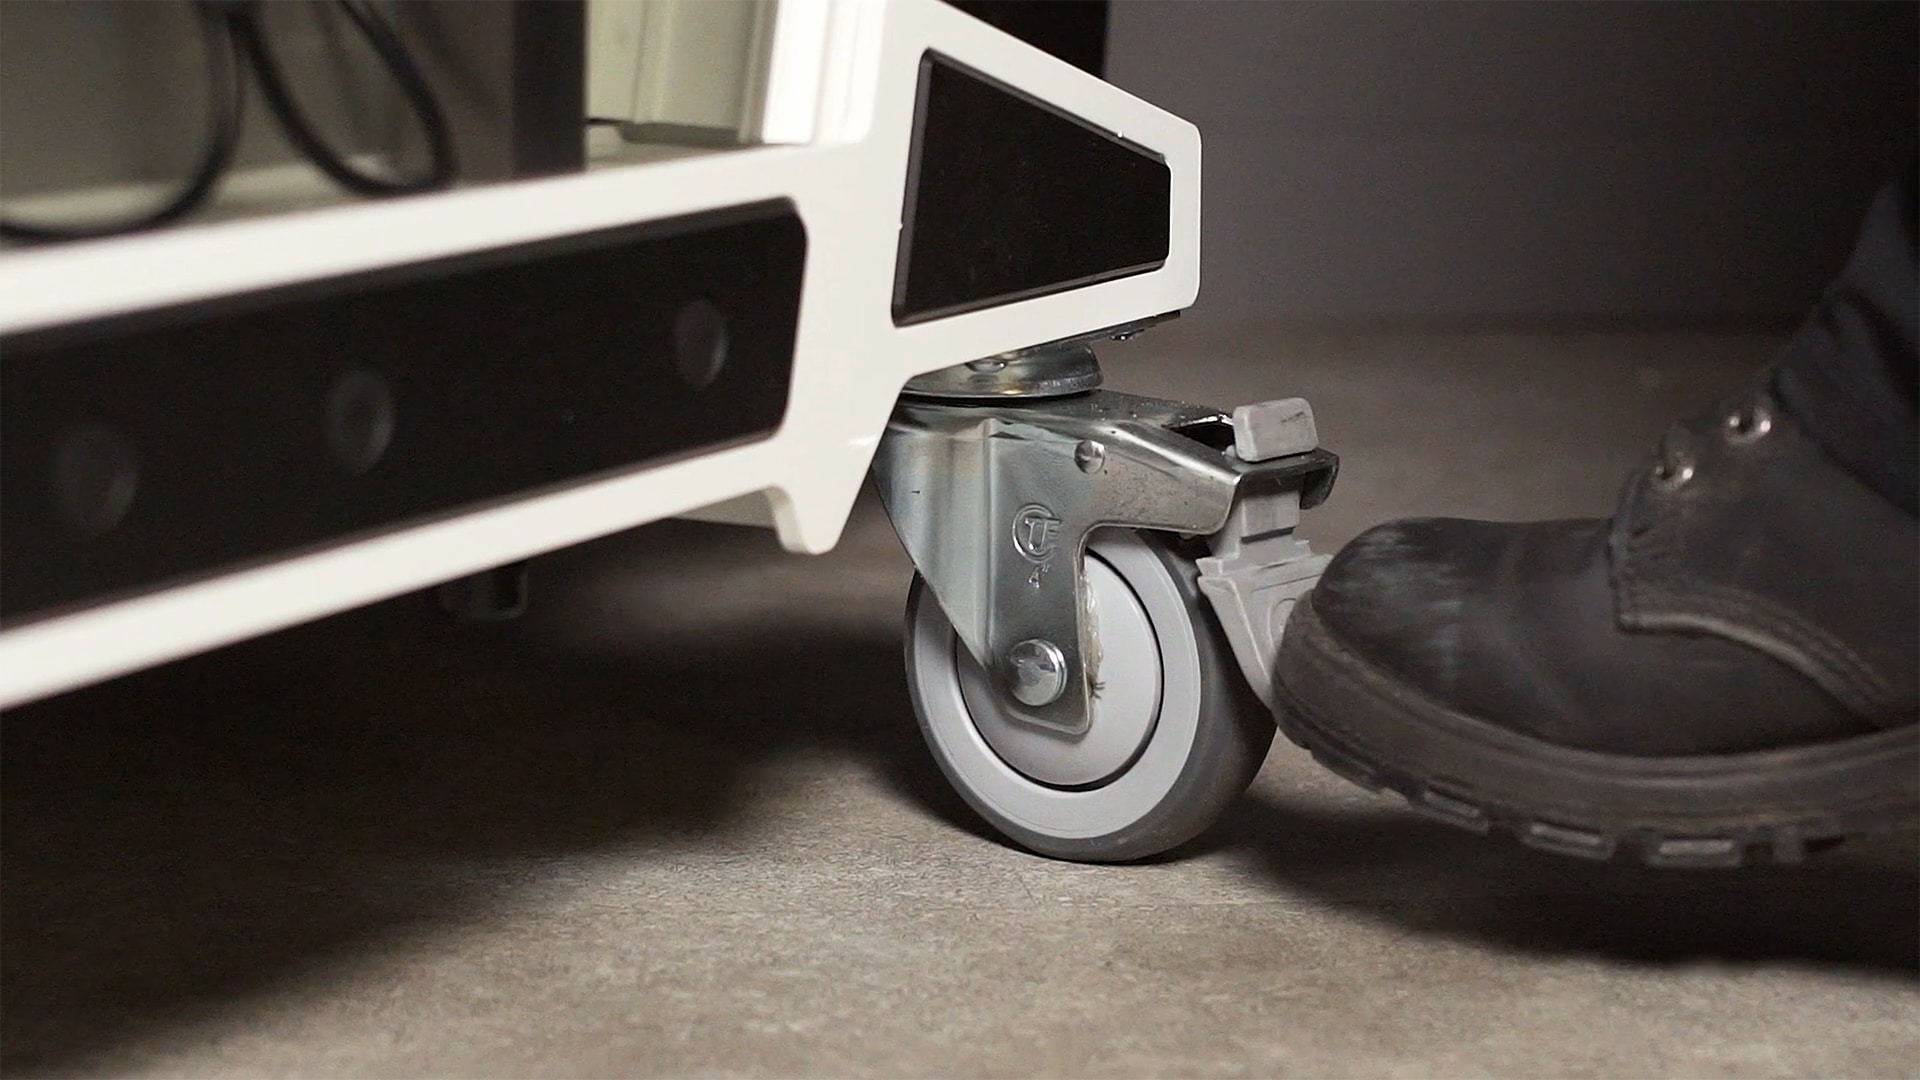
Start by locking the machine into place and opening the lid.
02
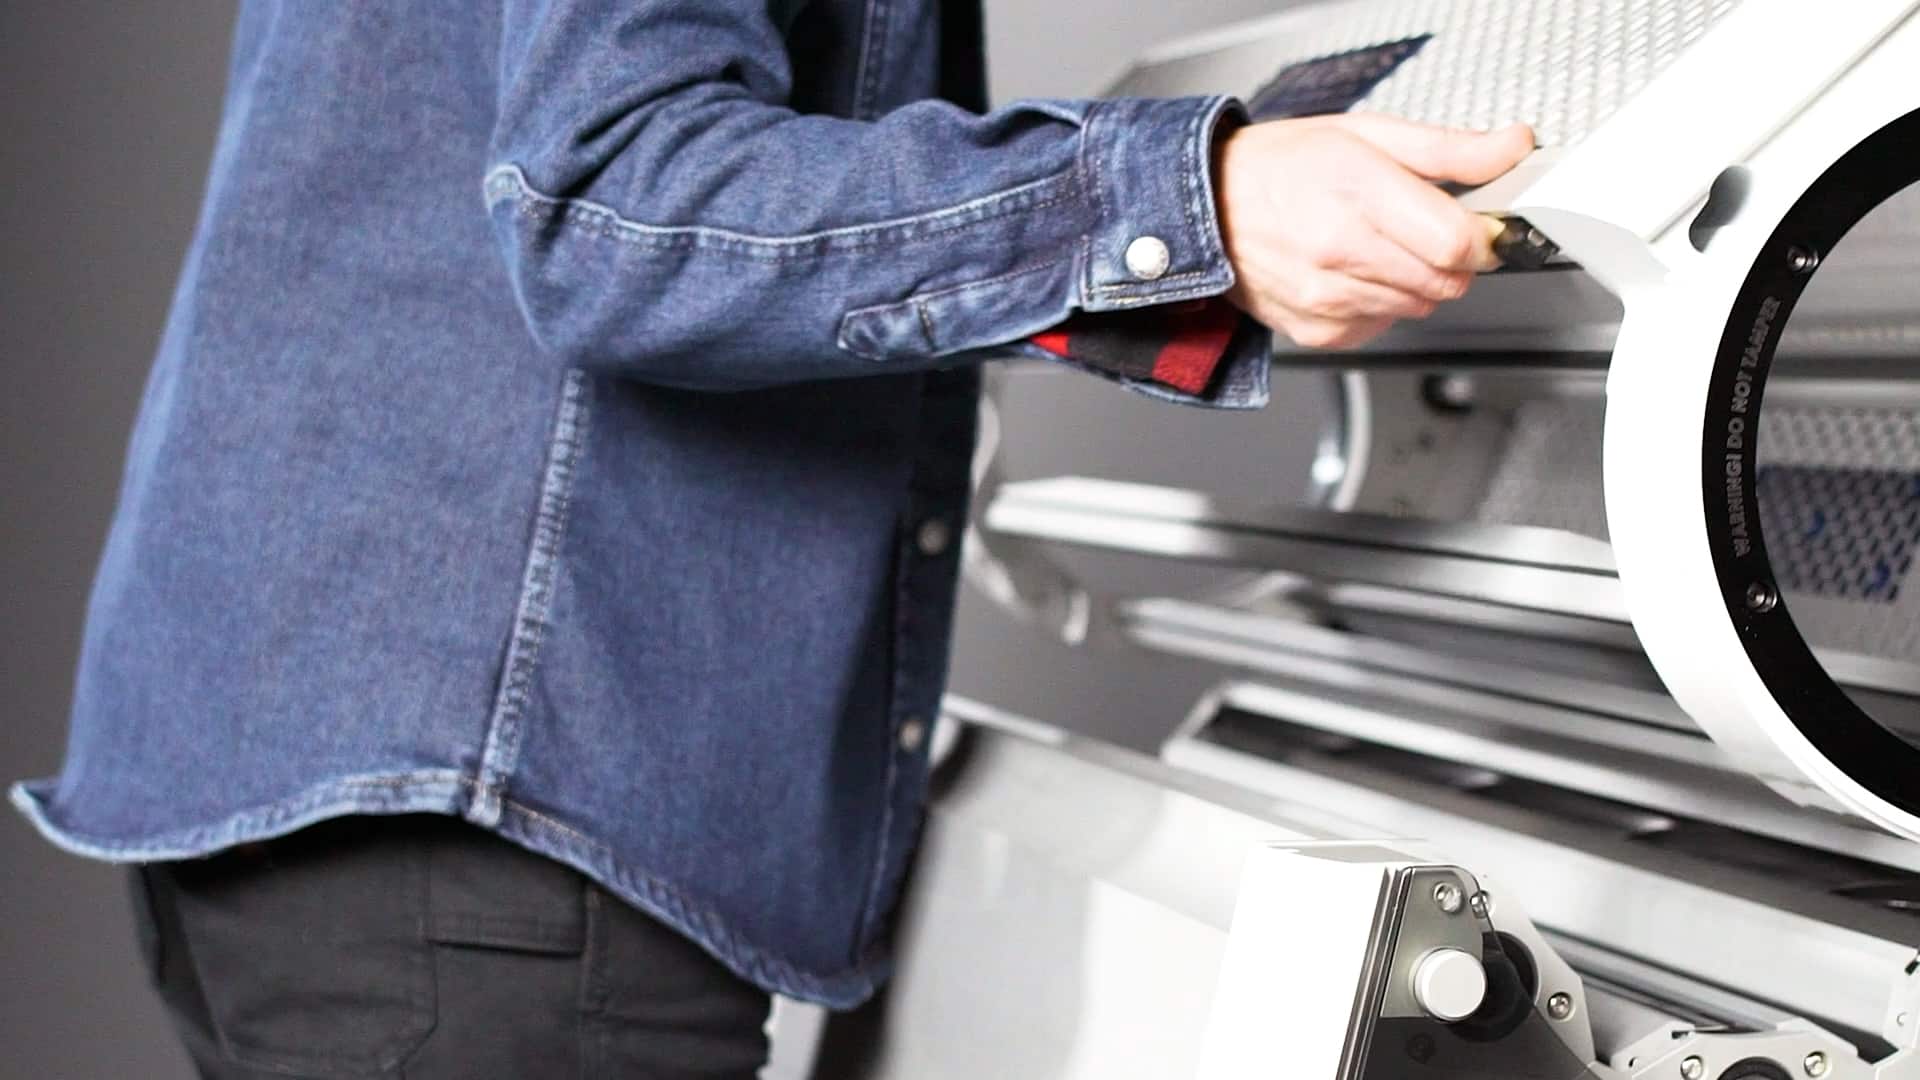
We always want to have the lid open when the tumbler is not under tension so that the wires are not caught on the blade components.
03
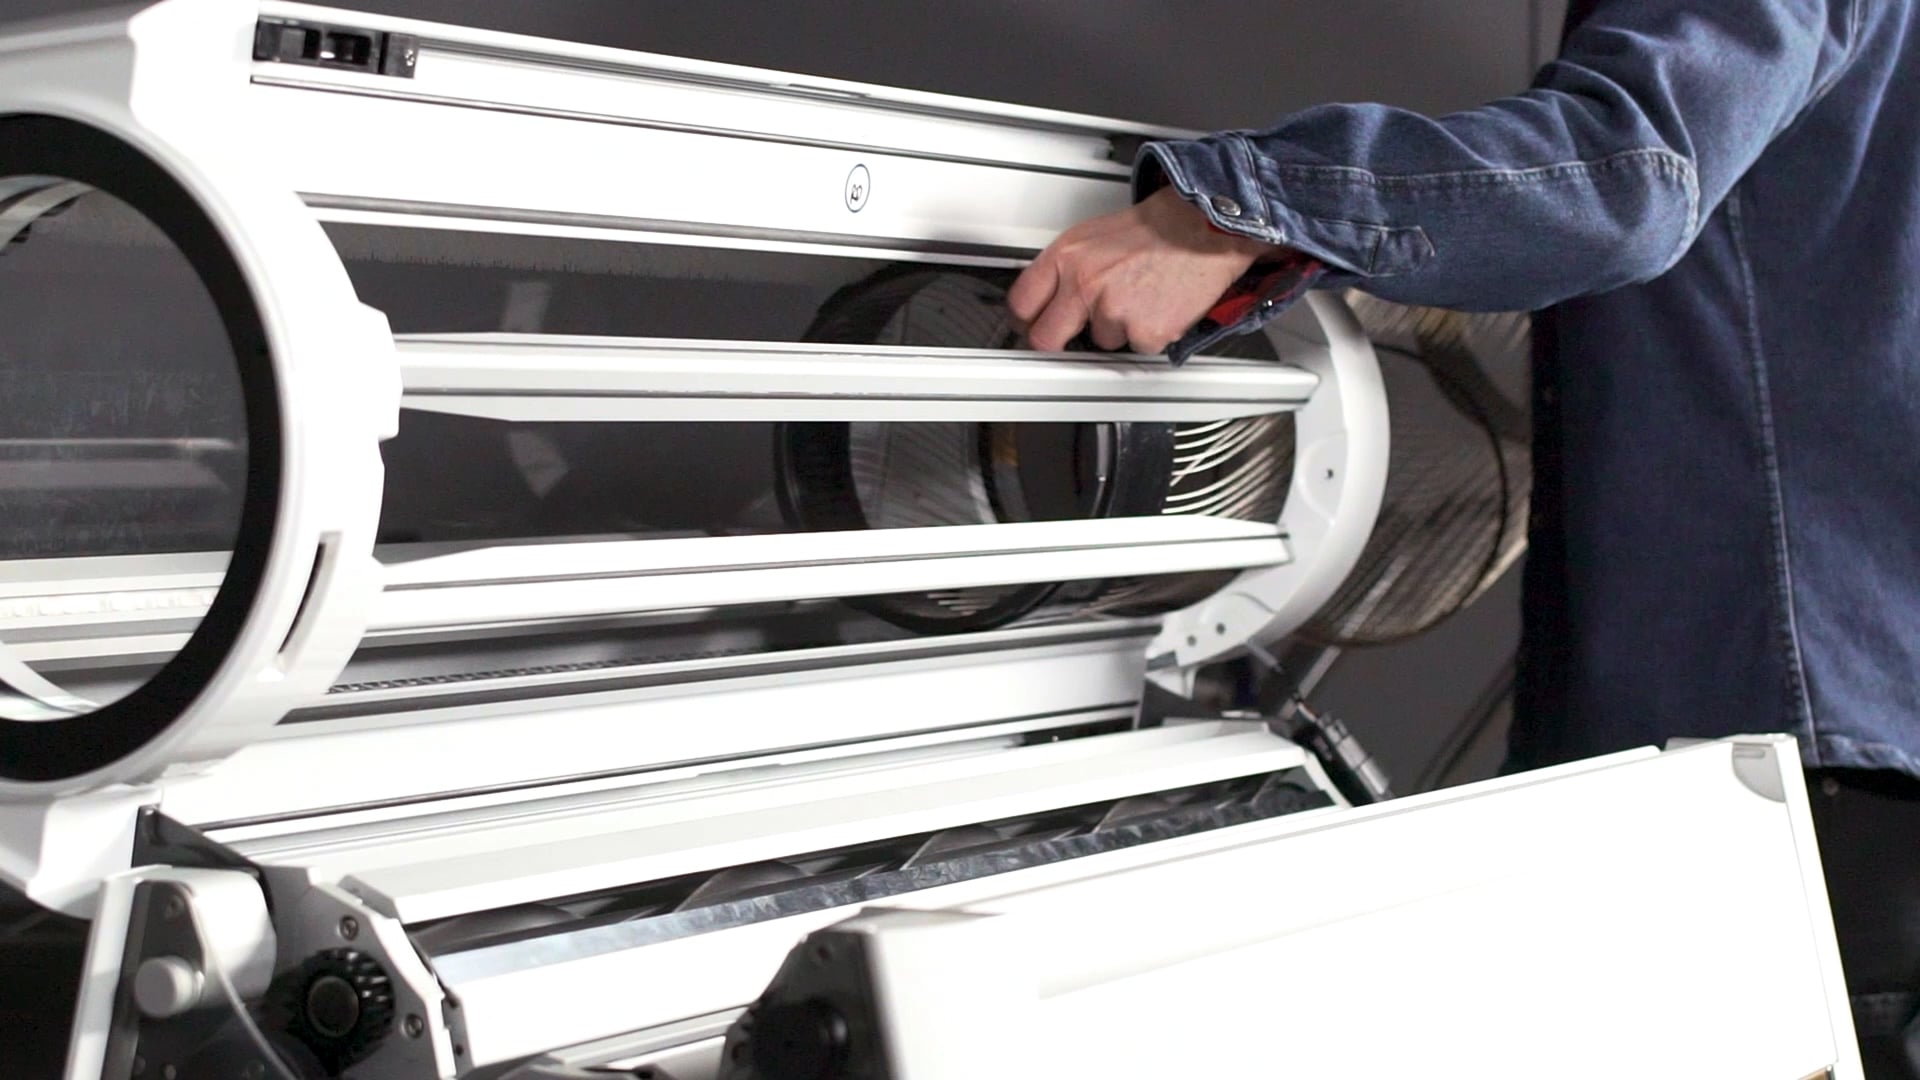
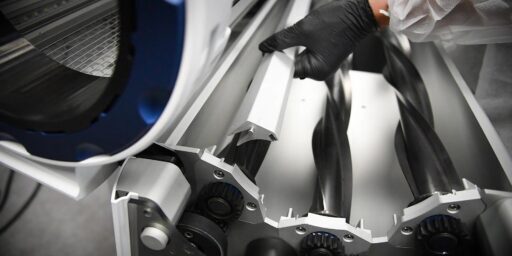
With the lid open, slide the tumbler into place. This can be done solo, but it’s often helpful to have a second set of hands to hold the opposite end of the tumbler while you guide the lead end cap into the lid.
04
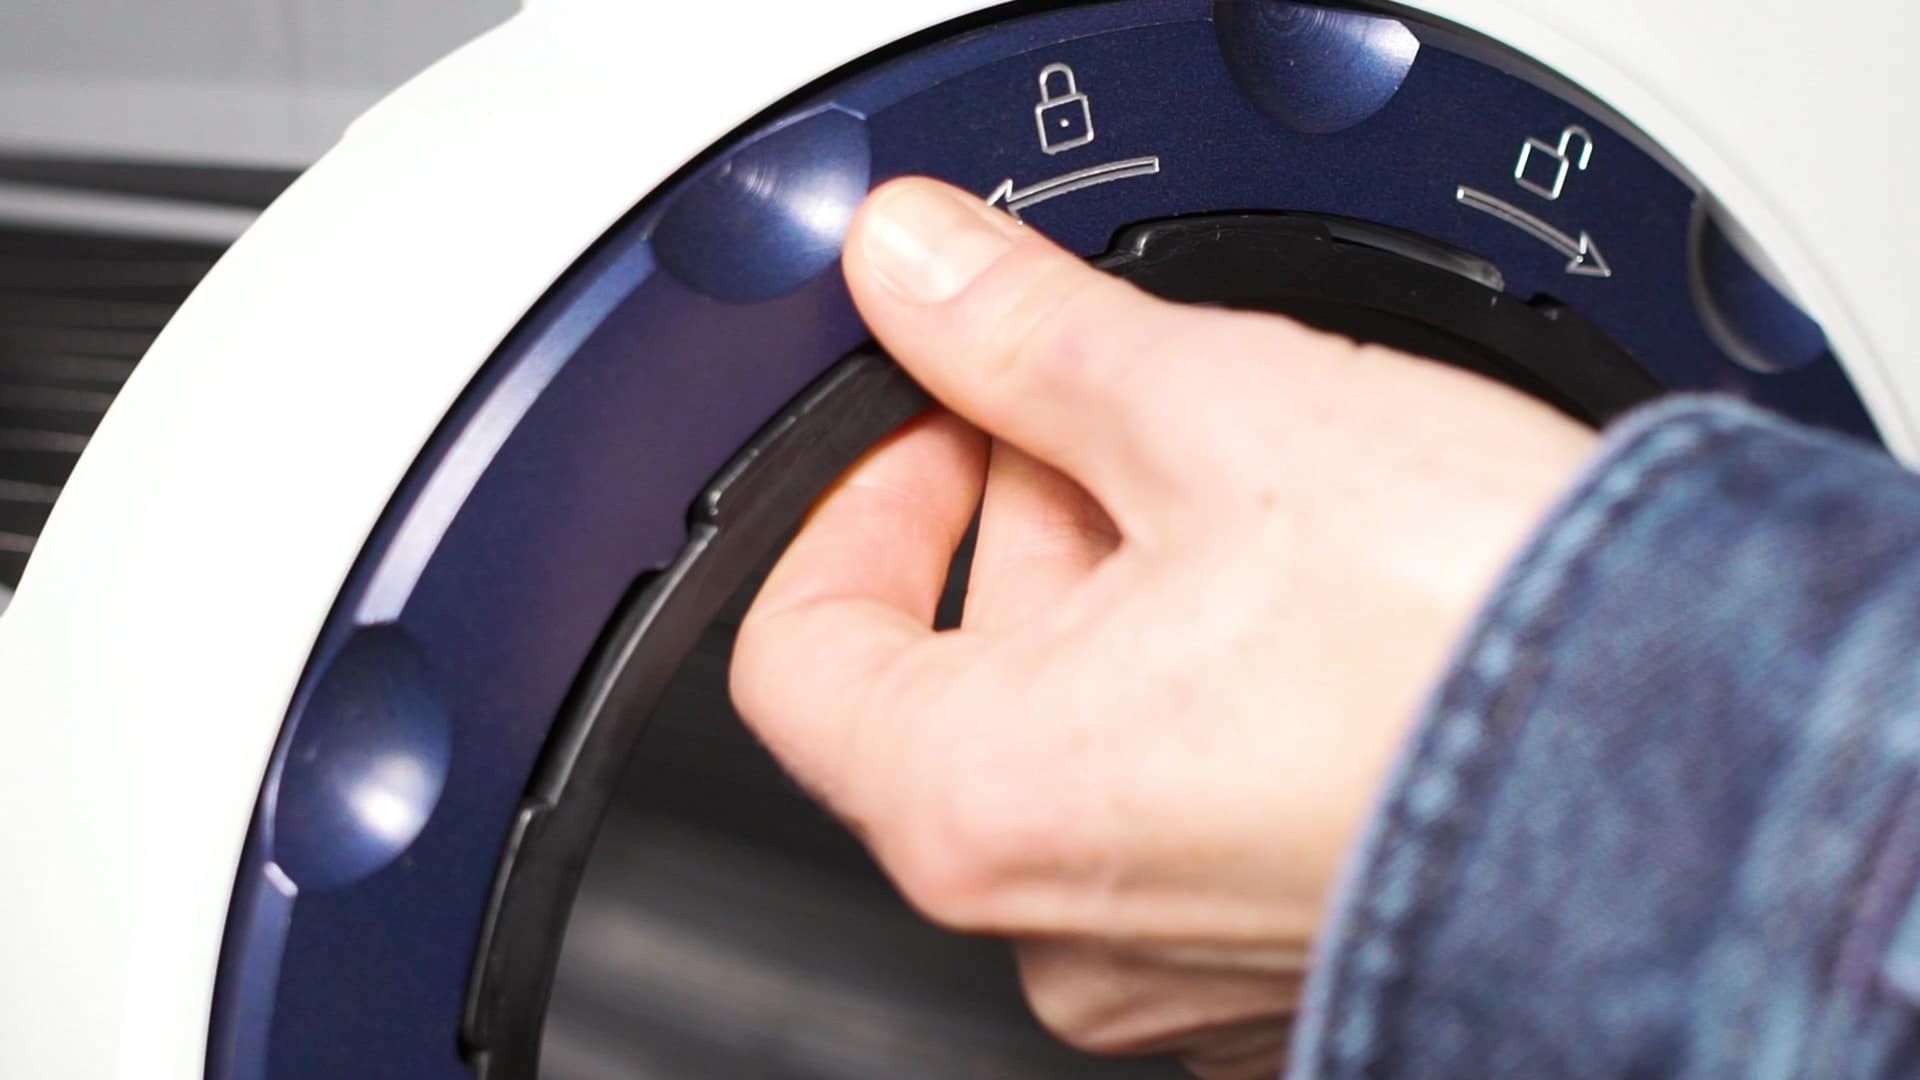
Once the tumbler is loosely positioned within the lid, install one of the blue retaining rings onto the infeed end. The tabs on the ring will show silver and alternate with the tabs on the tumbler end cap when unlocked.
05
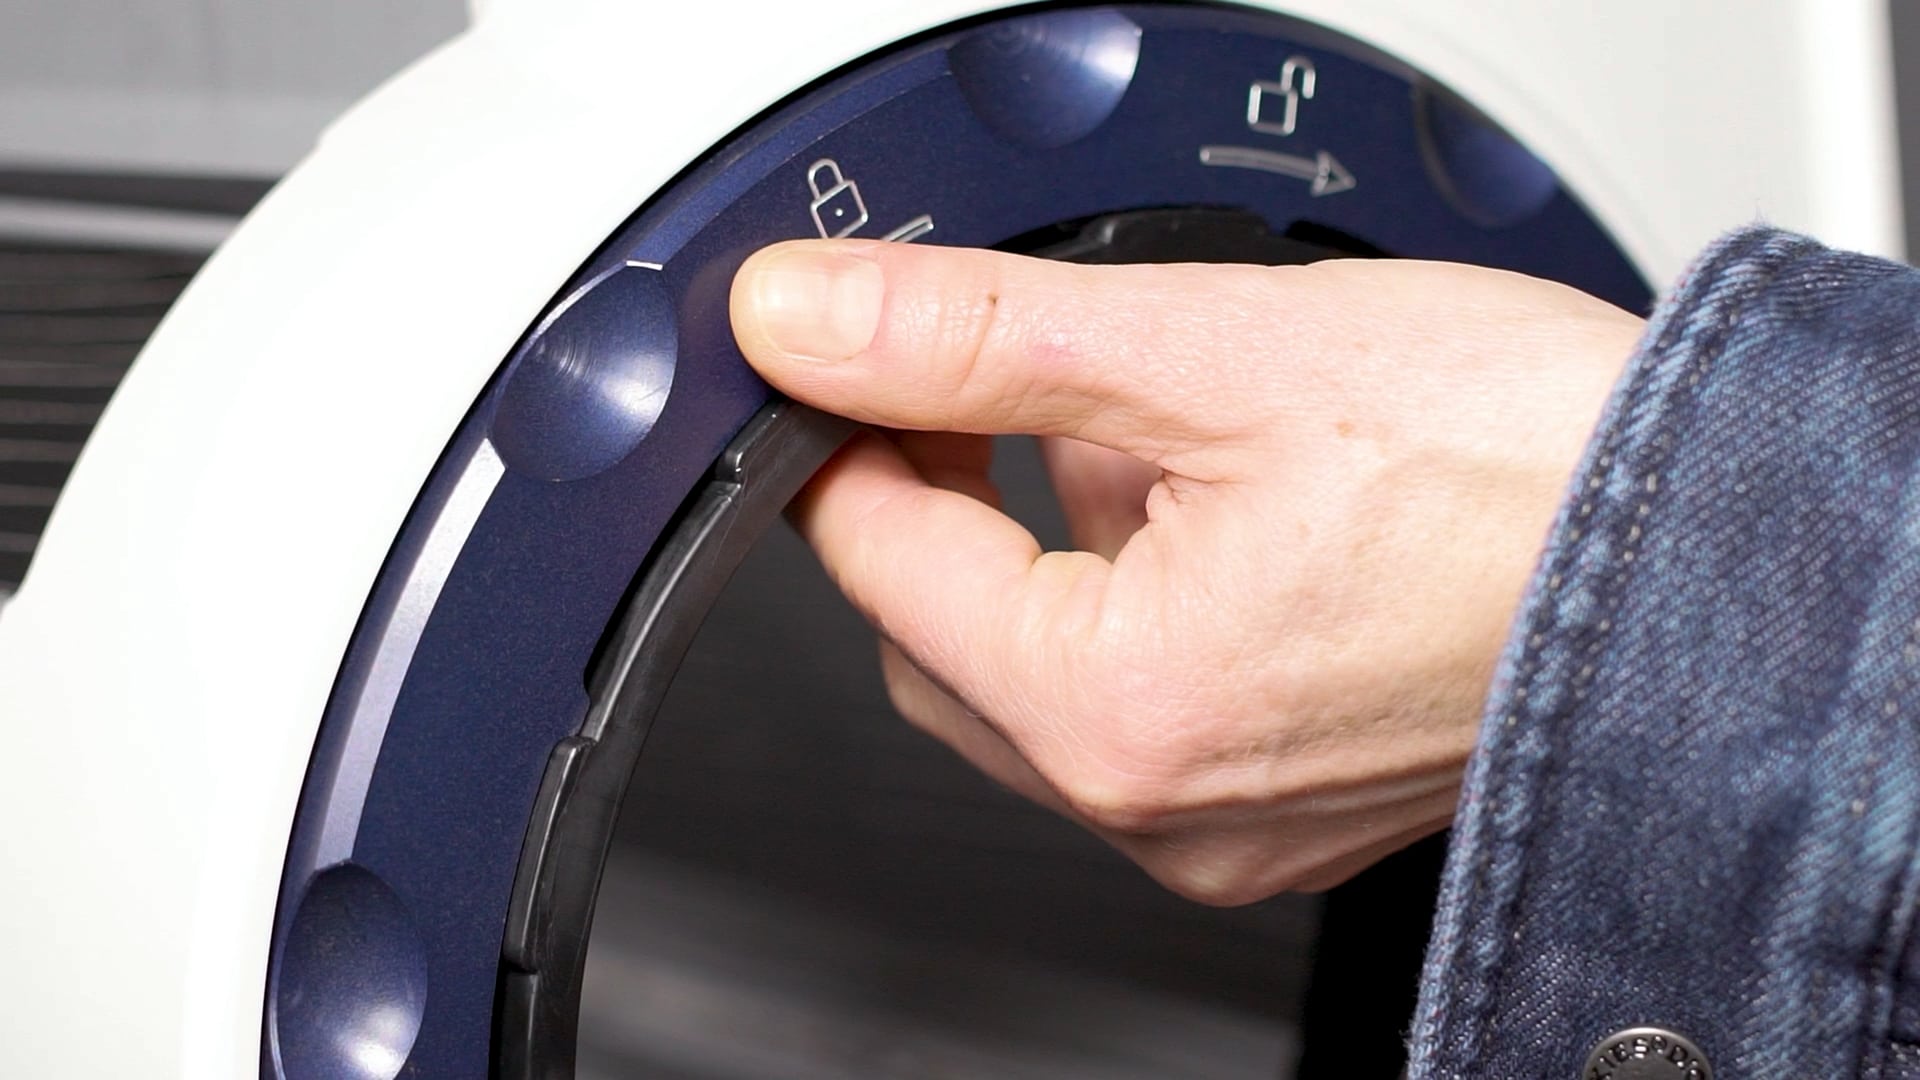
Rotate the ring counterclockwise to lock into place. Note, when the ring is fully locked into place, the silver tabs will no longer be visible.
06
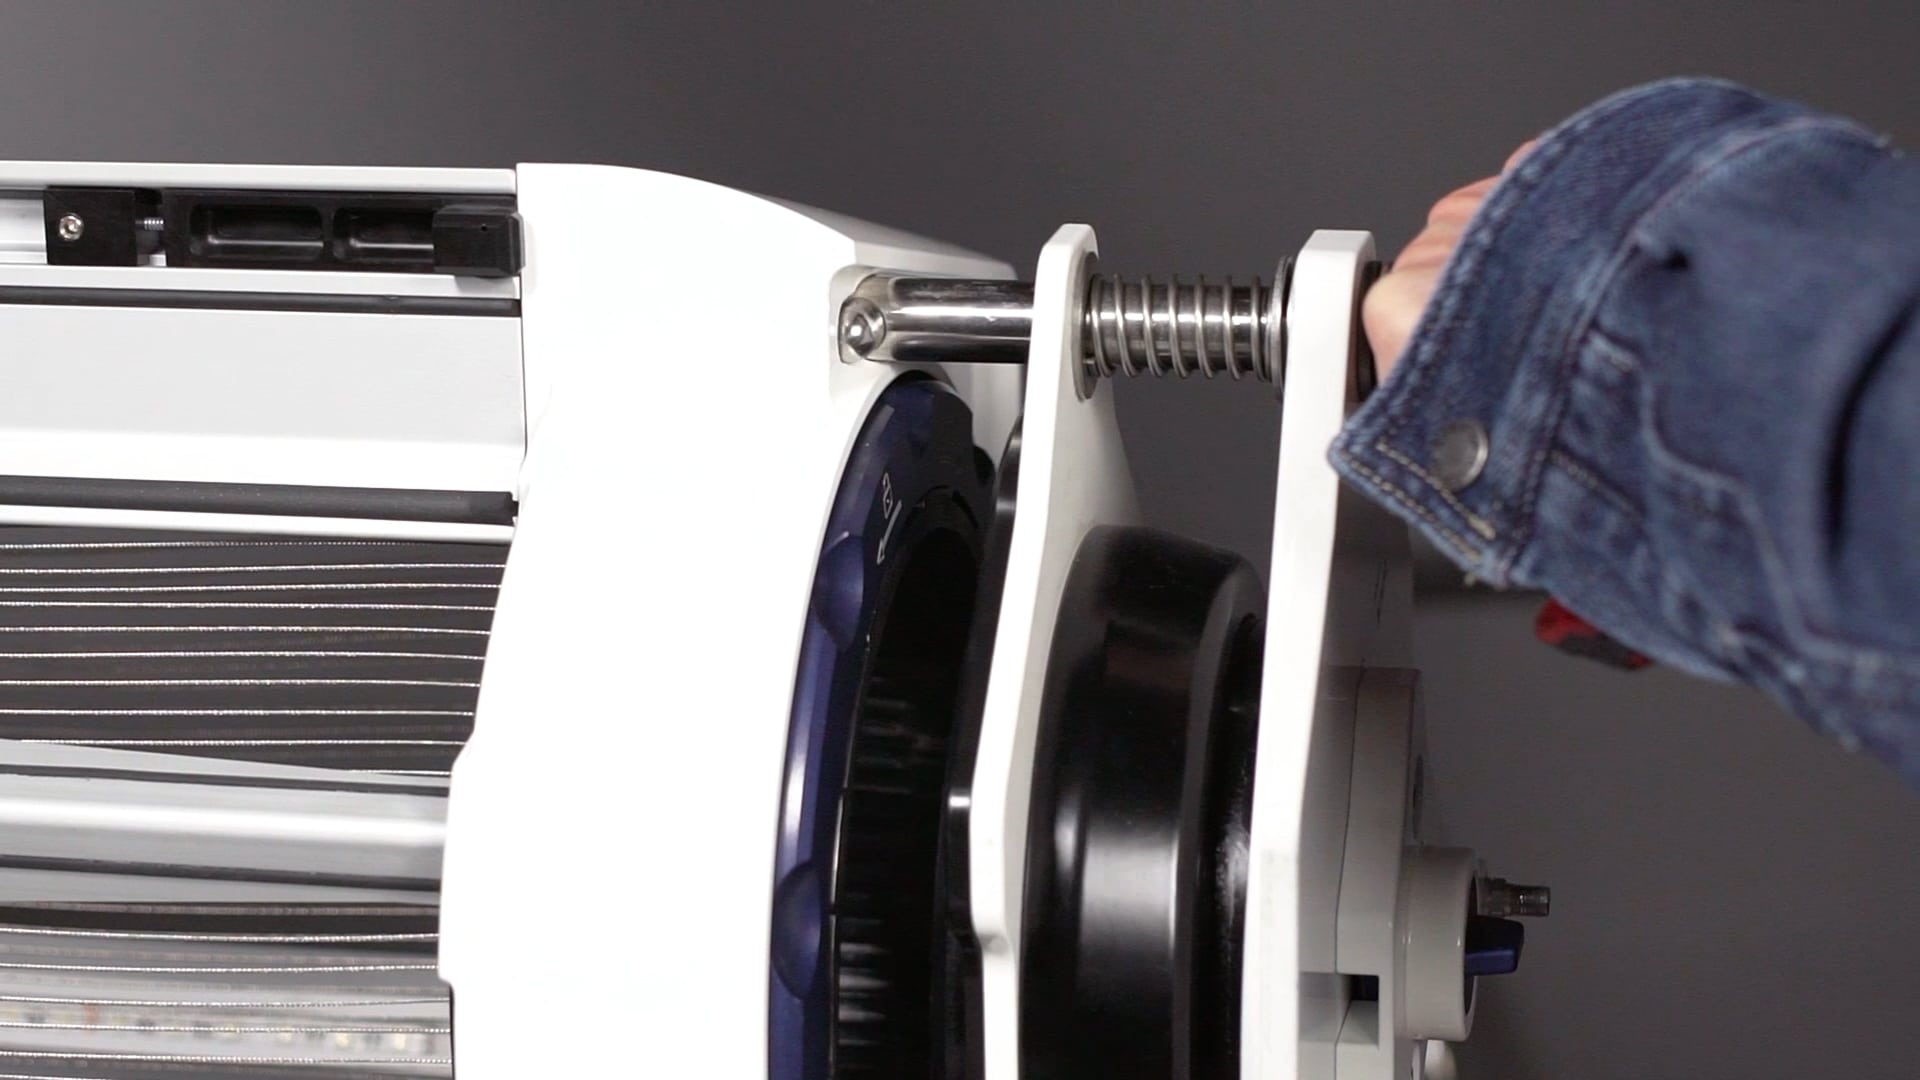
Next, grab your Spring Jack tool and position the two handles and the valve in the middle vertically, with the knobs on the back pointed down.
07
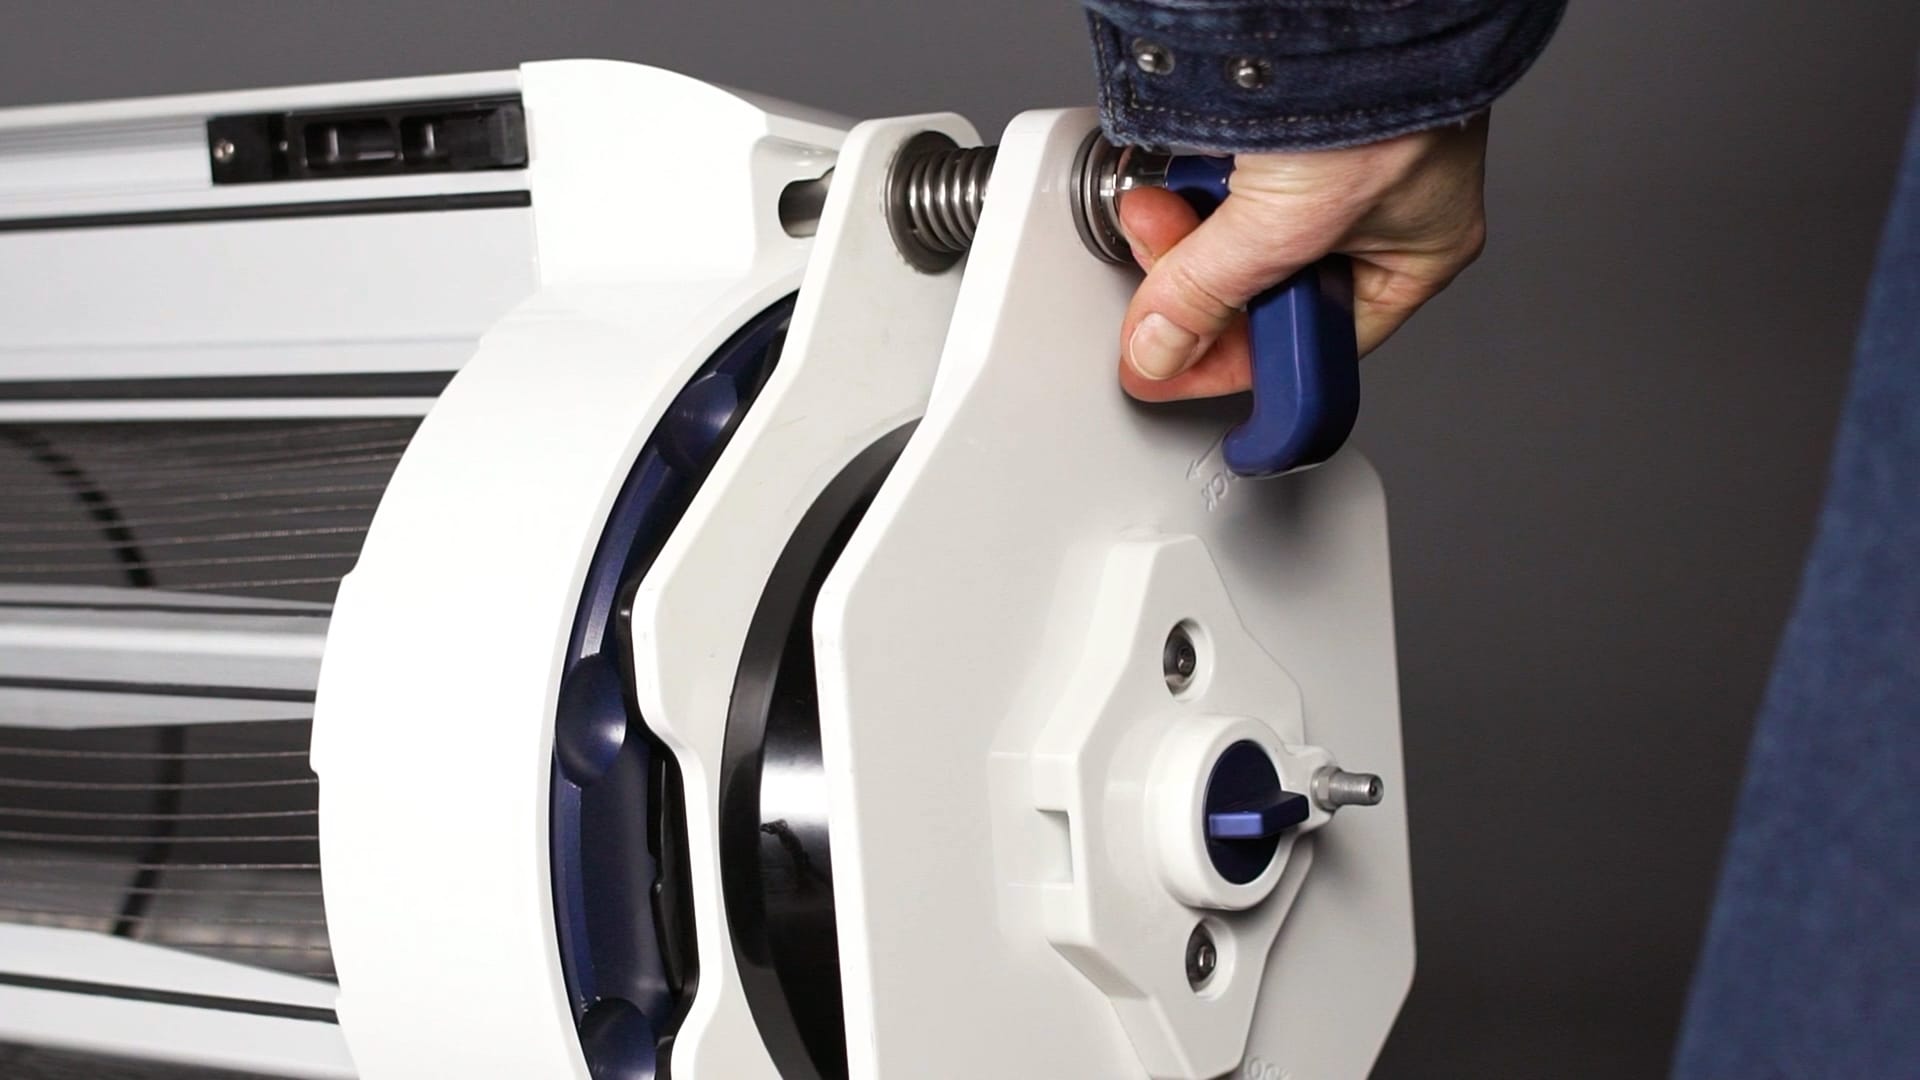
Insert the Spring Jack into the receiving holes on the lid and rotate the handles inwards.
08
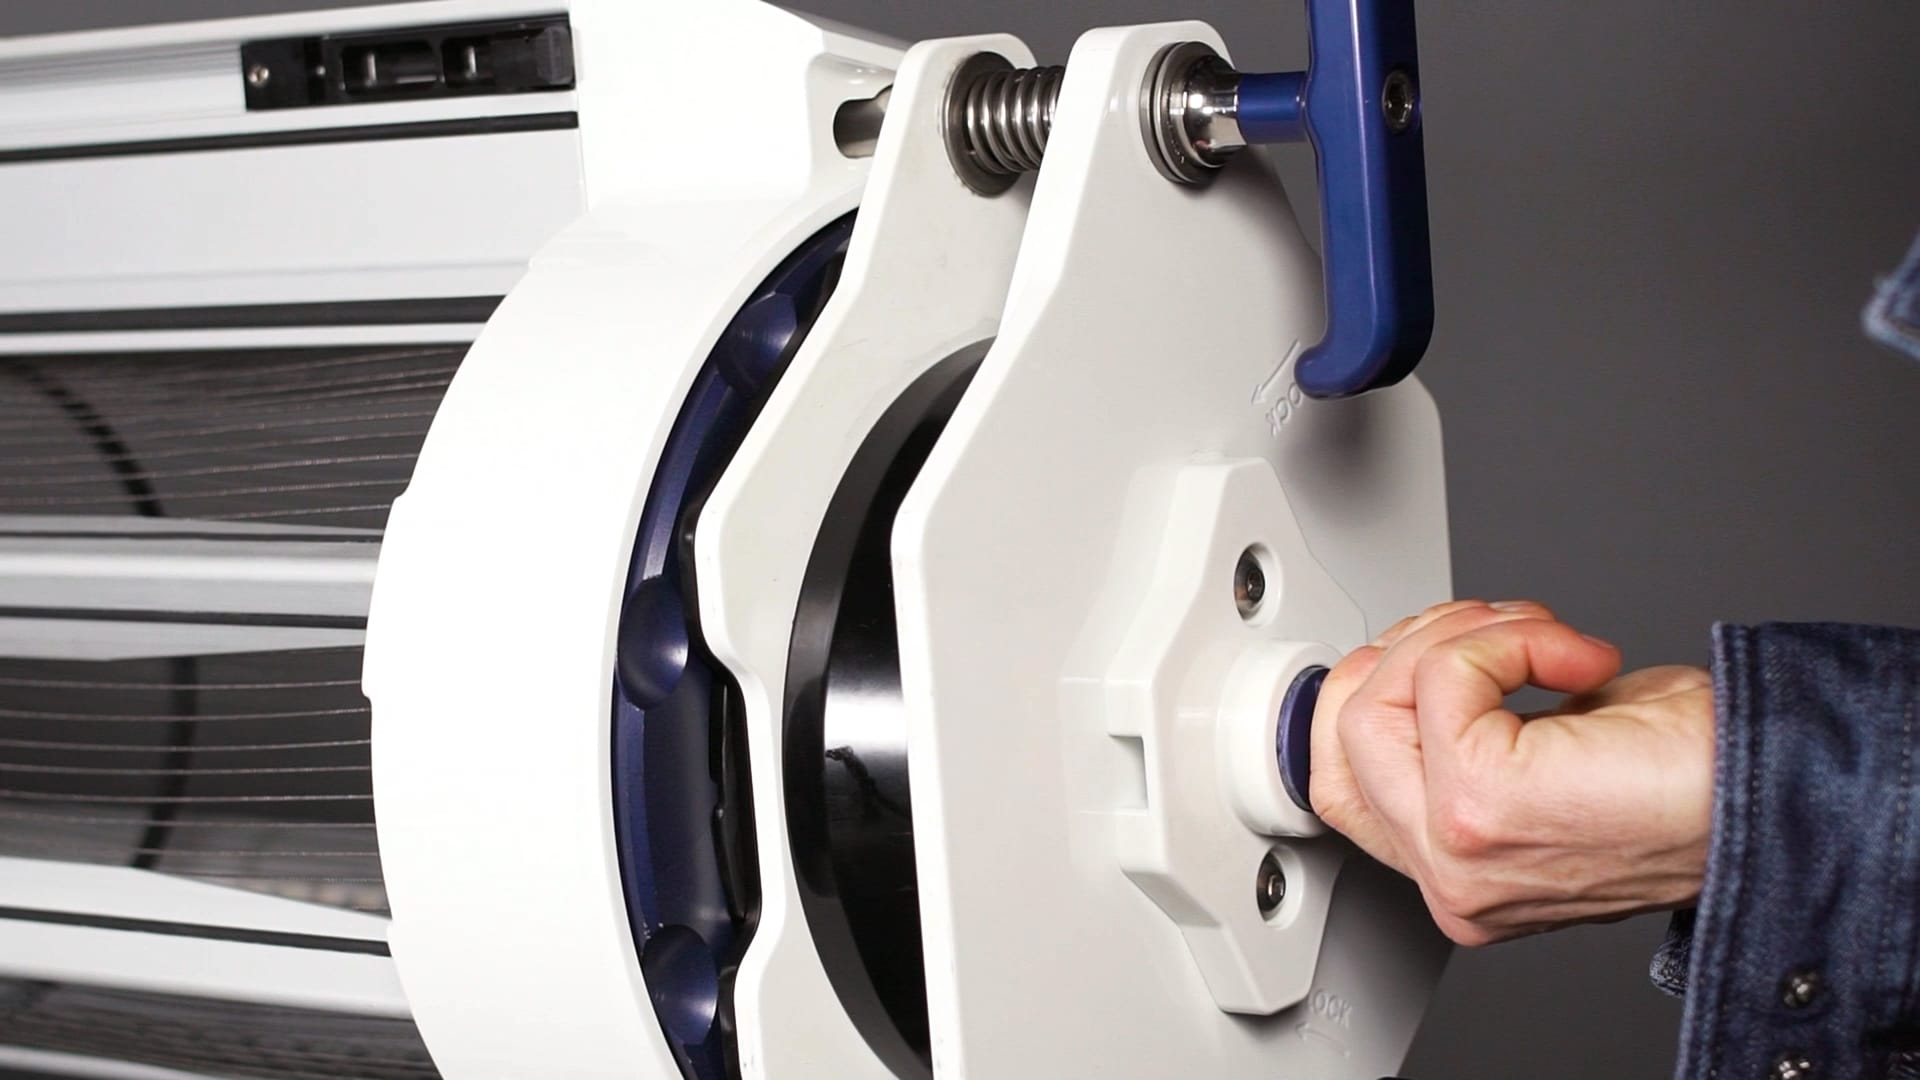
Finish up by rotating and locking the air valve into place. The handles and valve dial will now all be in one line.
09
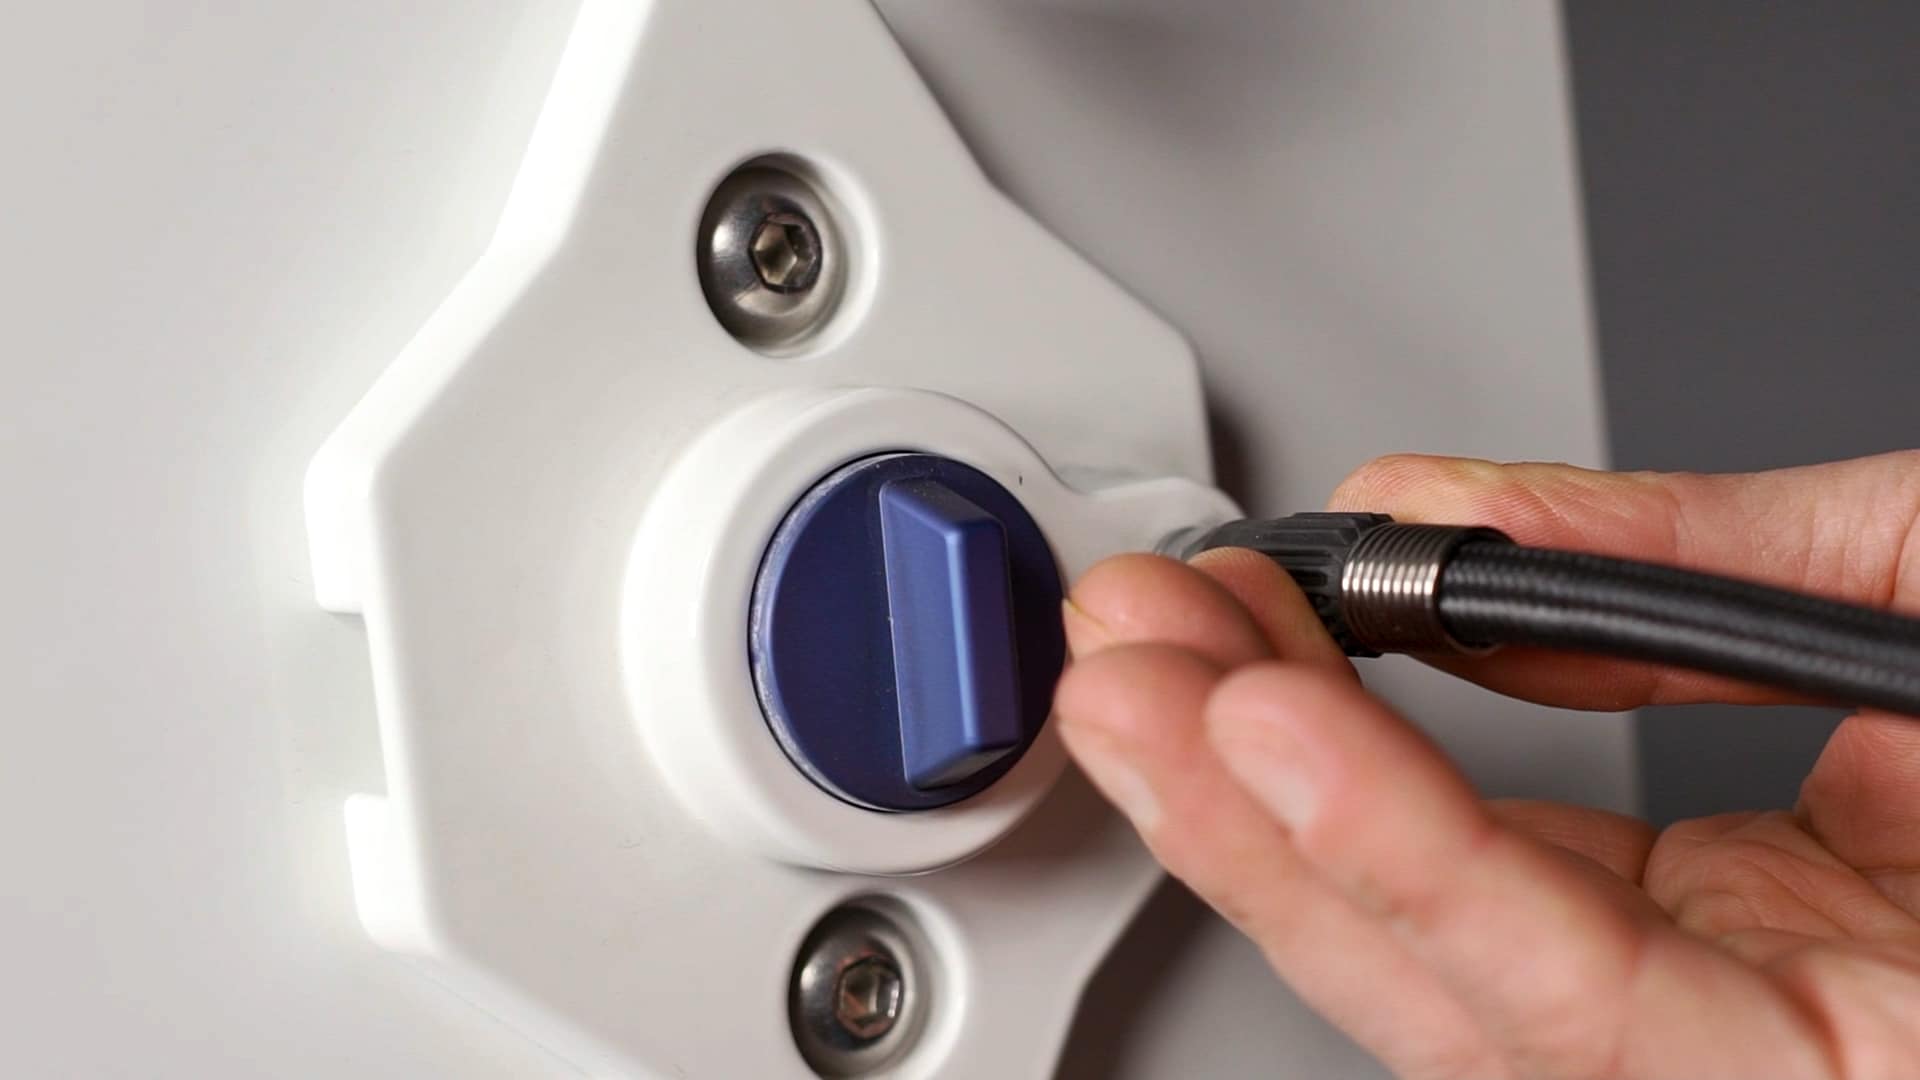
Attach your air supply to the Schrader valve on the Spring Jack and apply enough pressure to bottom out the spring pack in the lid. This will typically run between 100 and 130 PSI. The number itself doesn’t matter - the purpose is to give ourselves enough slack on the tumbler to get the opposite retaining ring on.
10
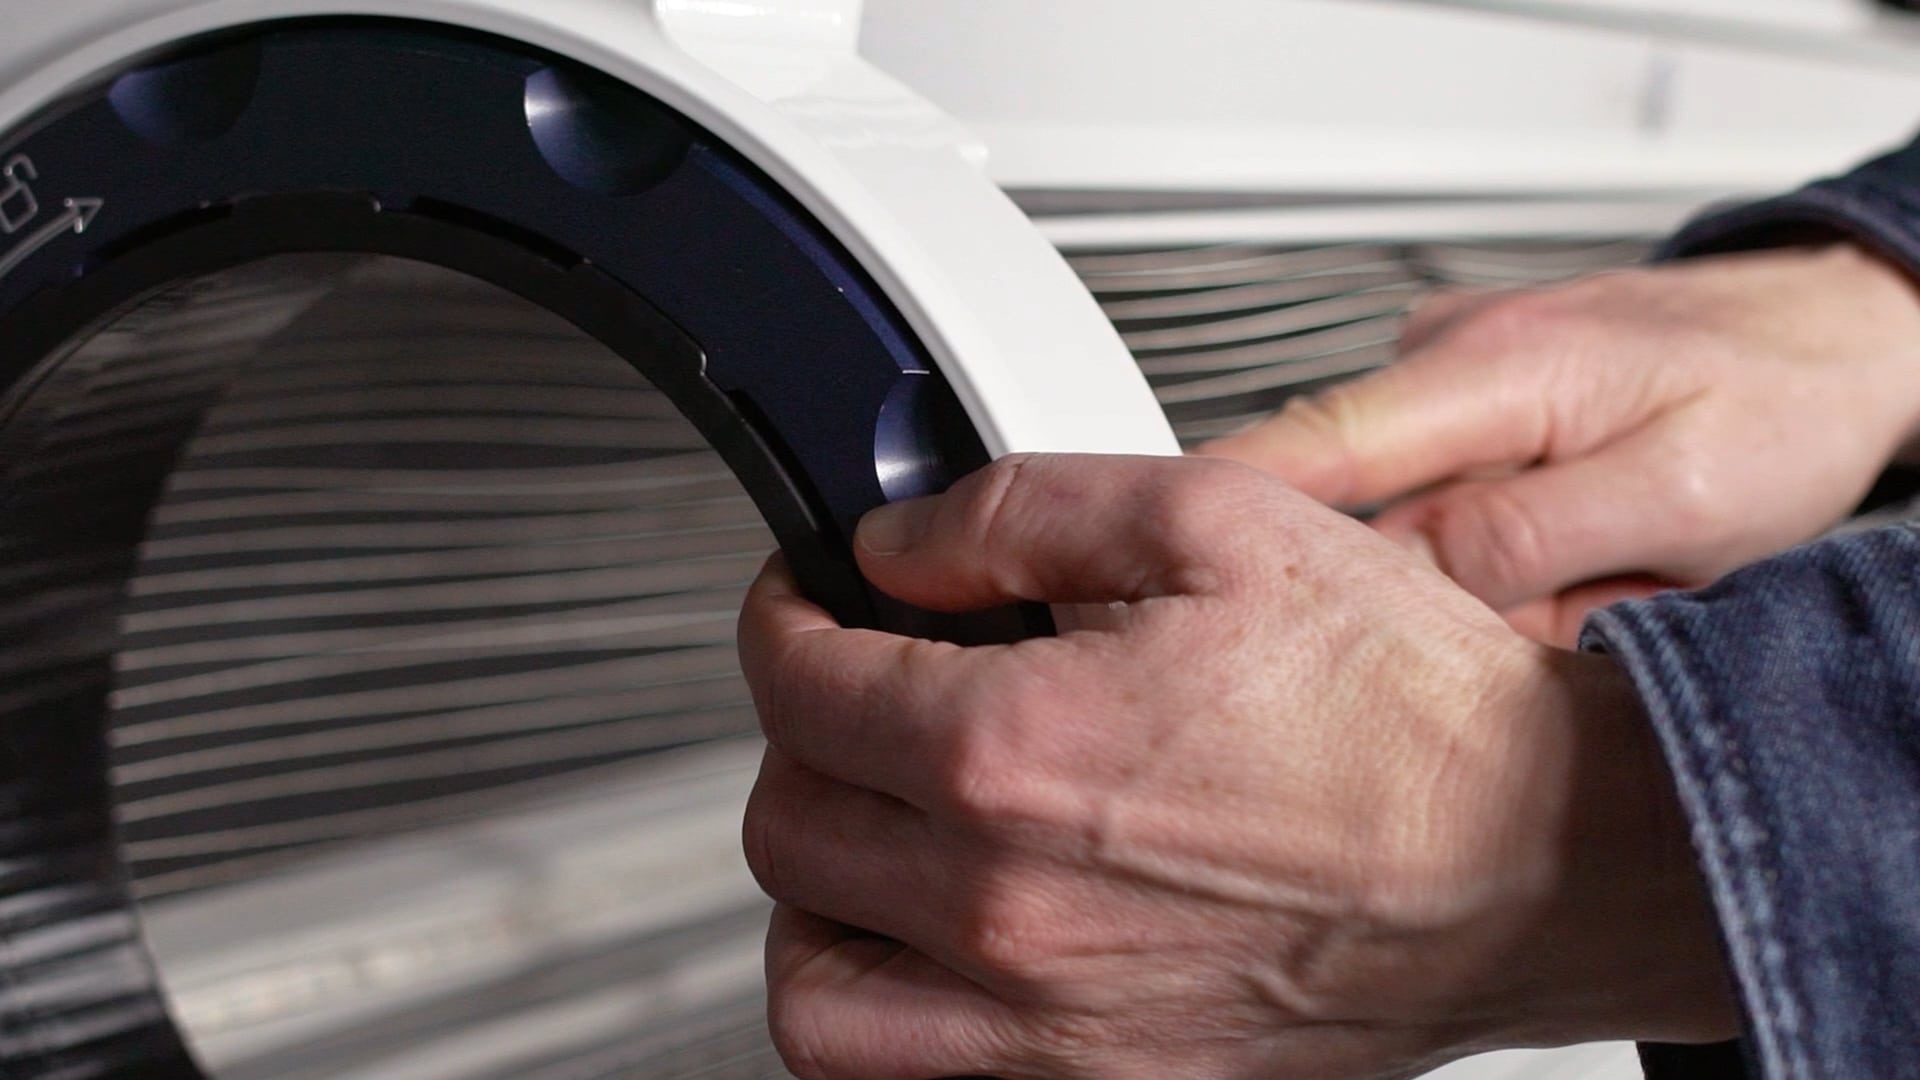
Now we’re ready to install the retaining ring on the opposite side of the tumbler. Just as was done with the first retaining ring, position this one with the ring tabs alternating with the tumbler end cap tabs. Position your hands so that your fingers are pulling out on the black tumbler end cap and your thumbs are pushing in and rotating the blue ring into the locked position. Again, no silver on the ring tabs should be visible.
11
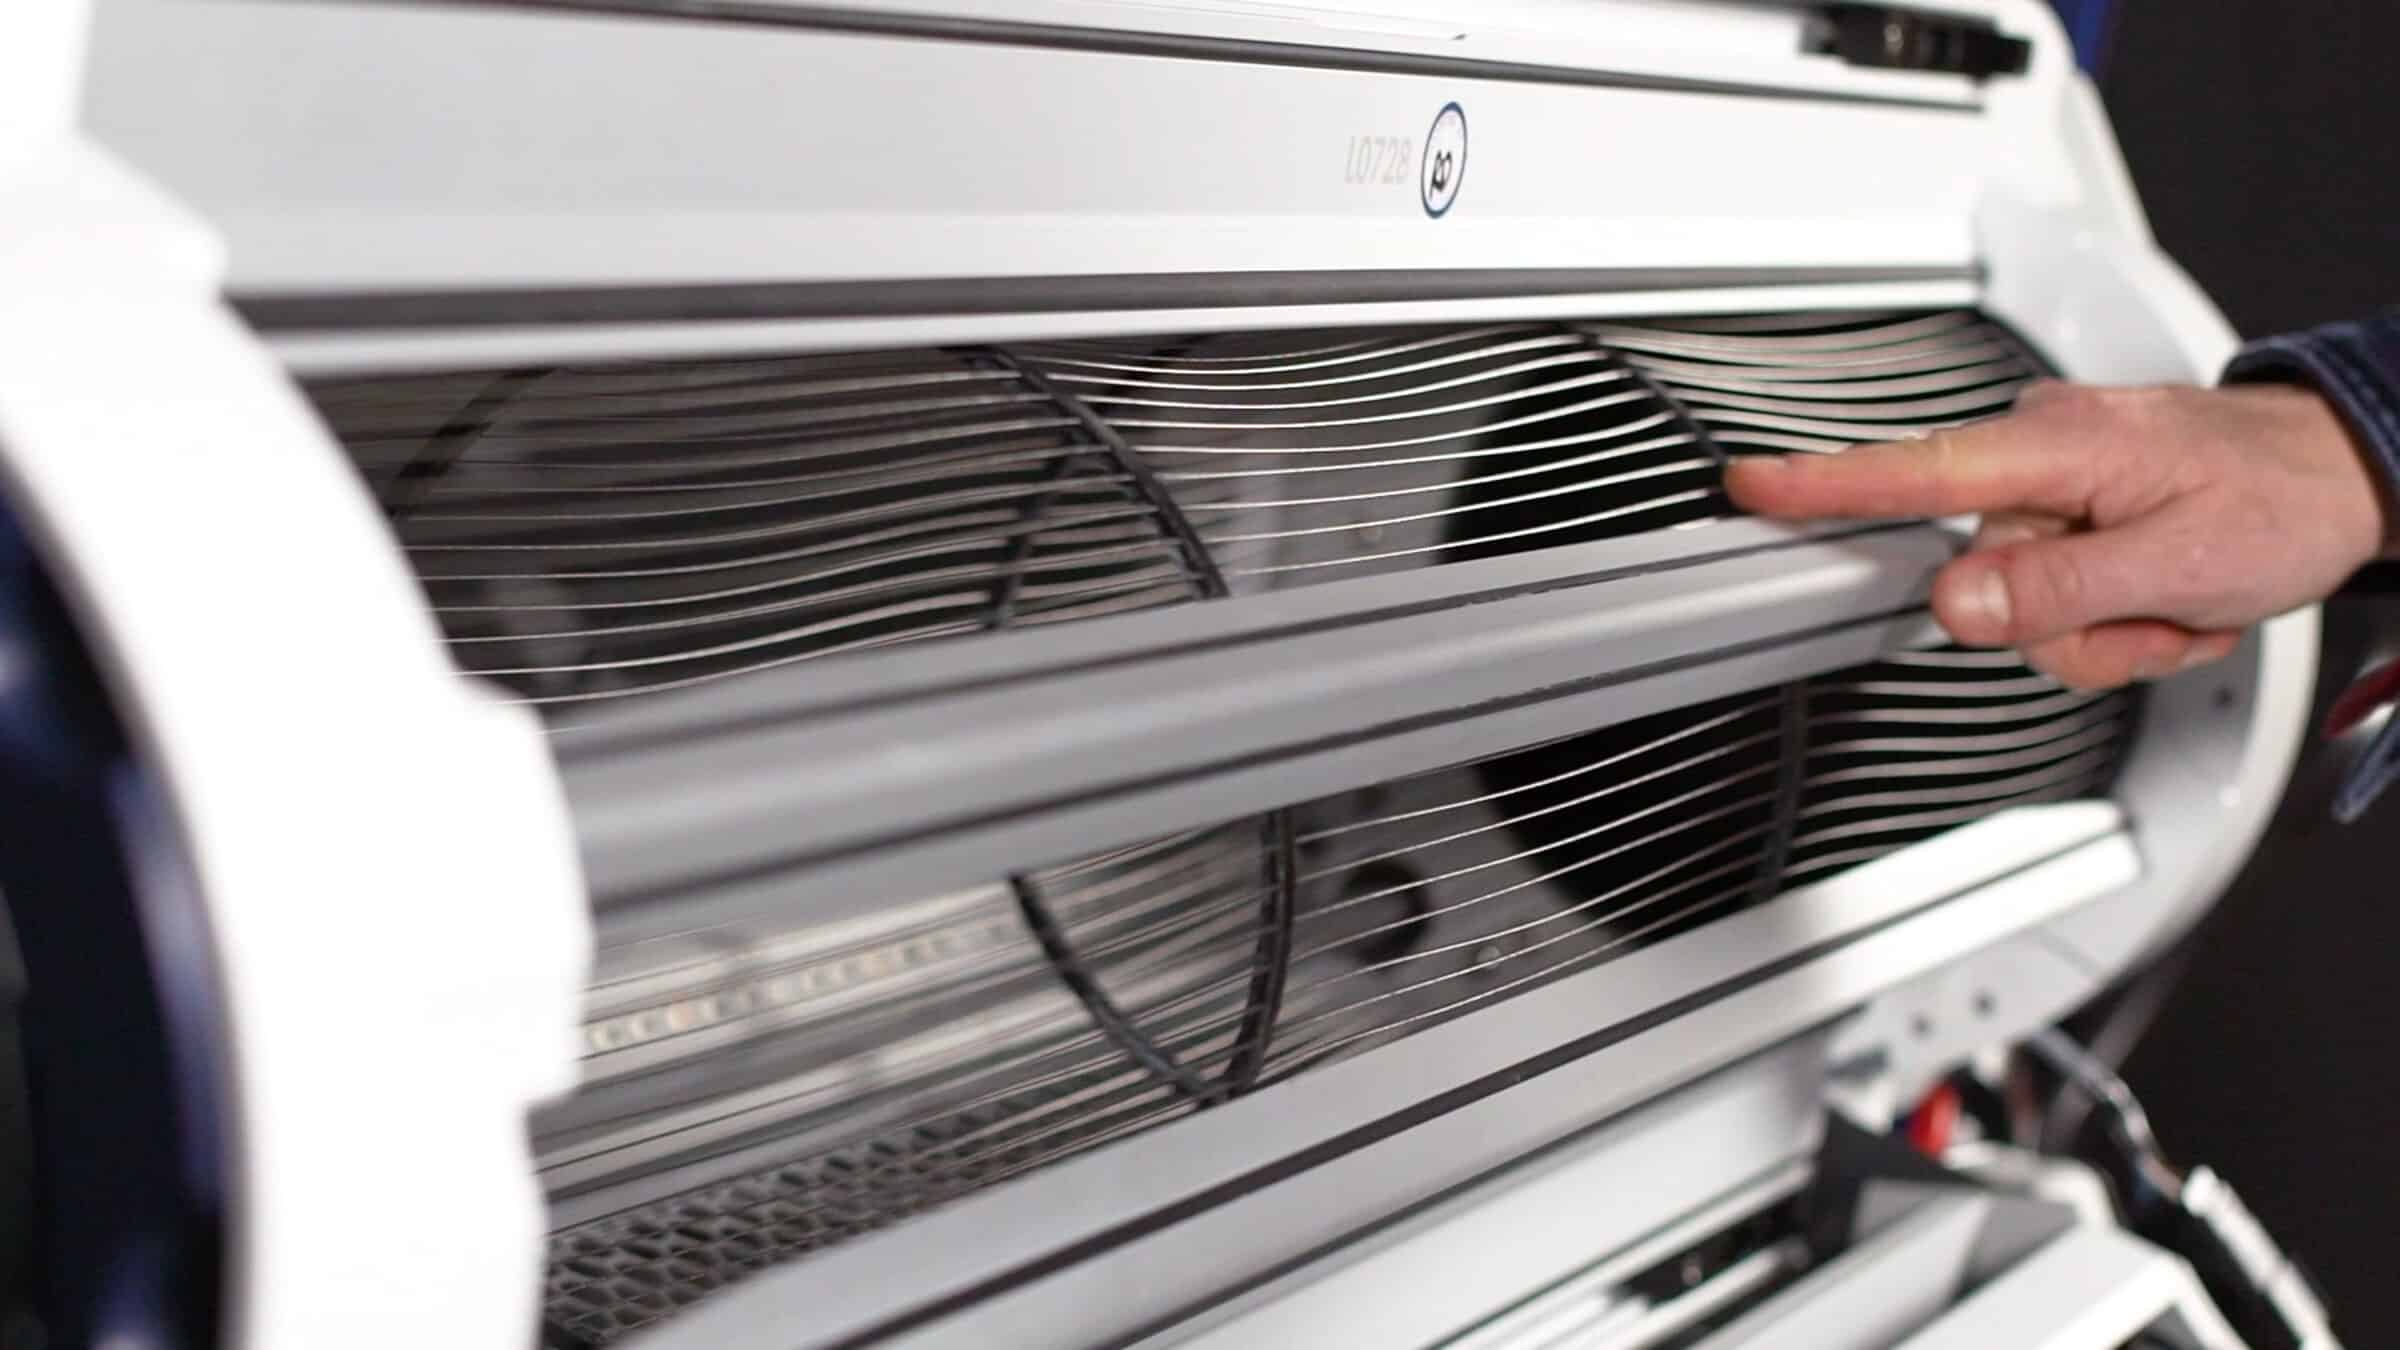
Before tensioning the tumbler it’s important to check the alignment of the wires. Working from one end, trace one of the tumbler wires across to the other end. Rotate the loose end as necessary to ensure that the tumbler wires will be straight once under tension.
12
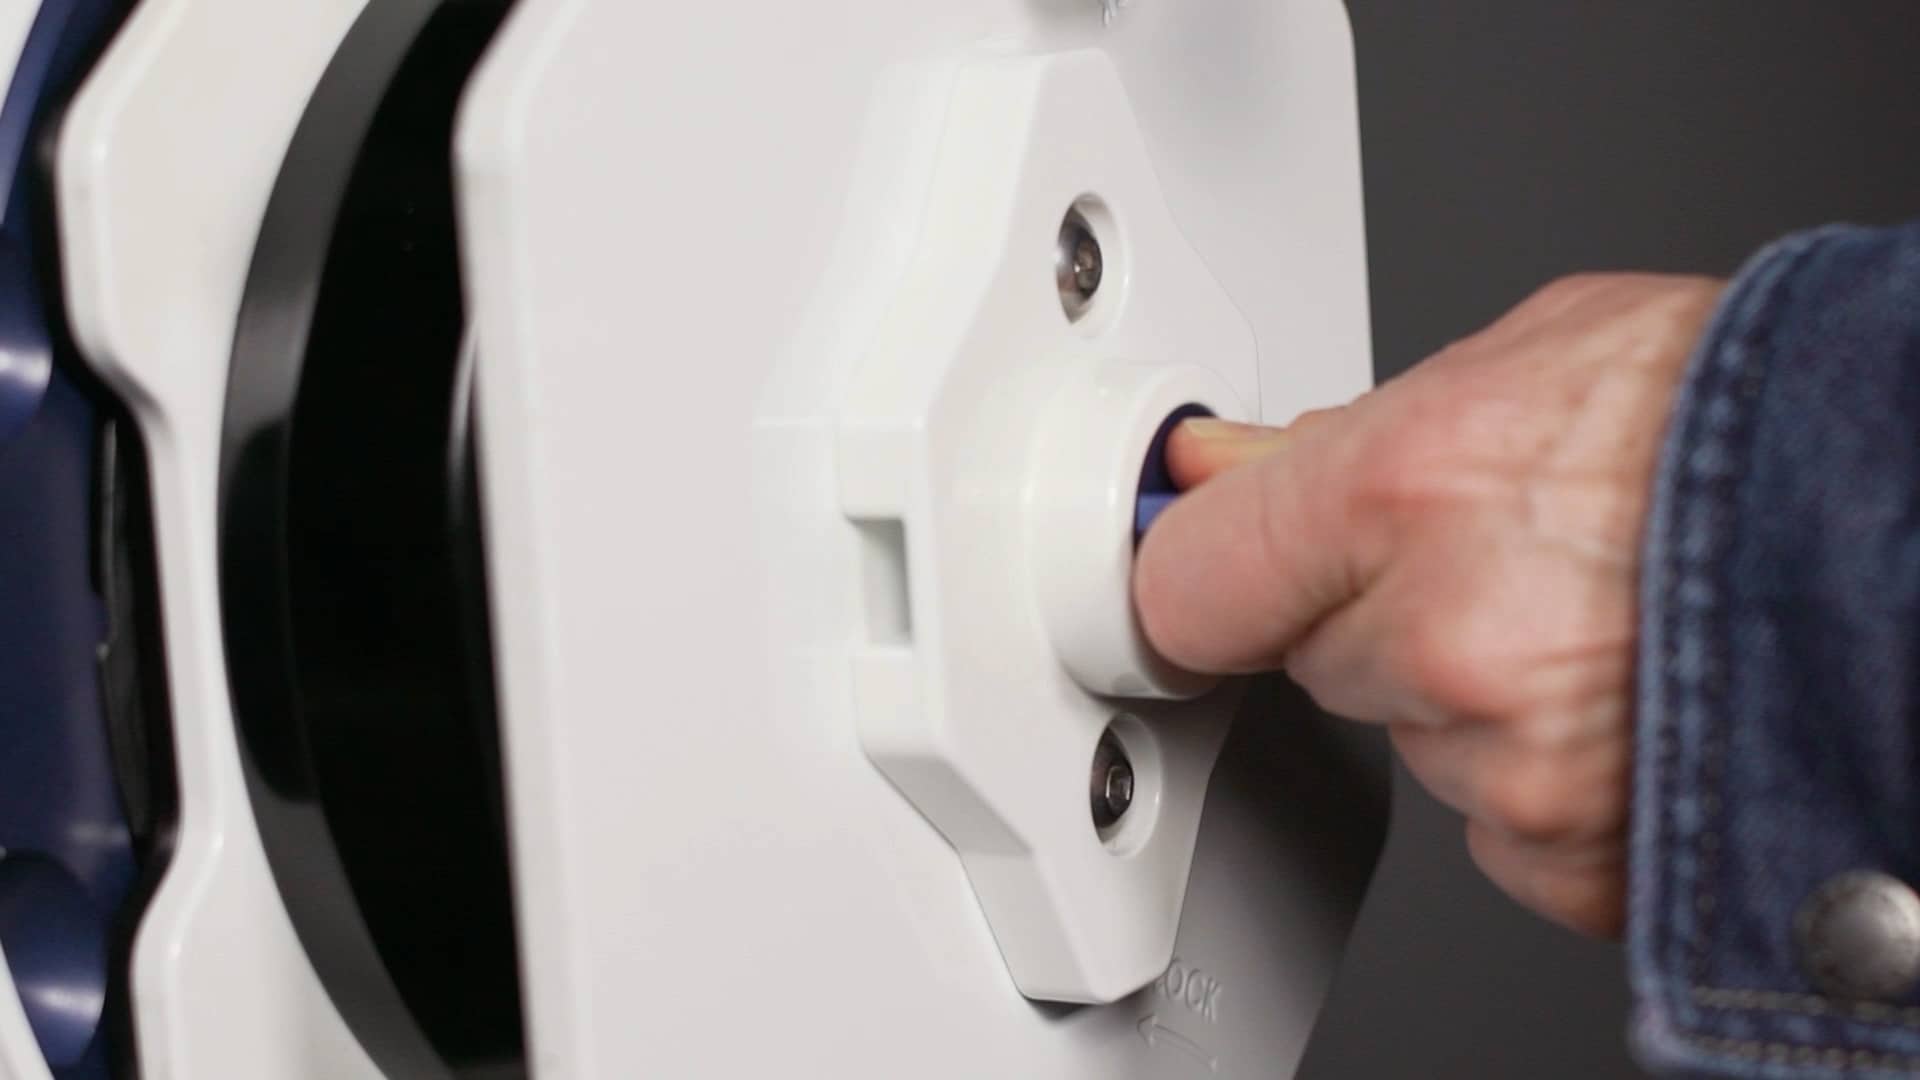
The final and most satisfying step can now be taken! Push in and rotate the valve dial on the Spring Jack counterclockwise. The Spring Pack will decompress and the tumbler is now under tension. Rotate the Spring Jack handles outward and remove the tool from the lid.
13

The final and most satisfying step can now be taken! Push in and rotate the valve dial on the Spring Jack counterclockwise.
14

The Spring Pack will decompress and the tumbler is now under tension.
15
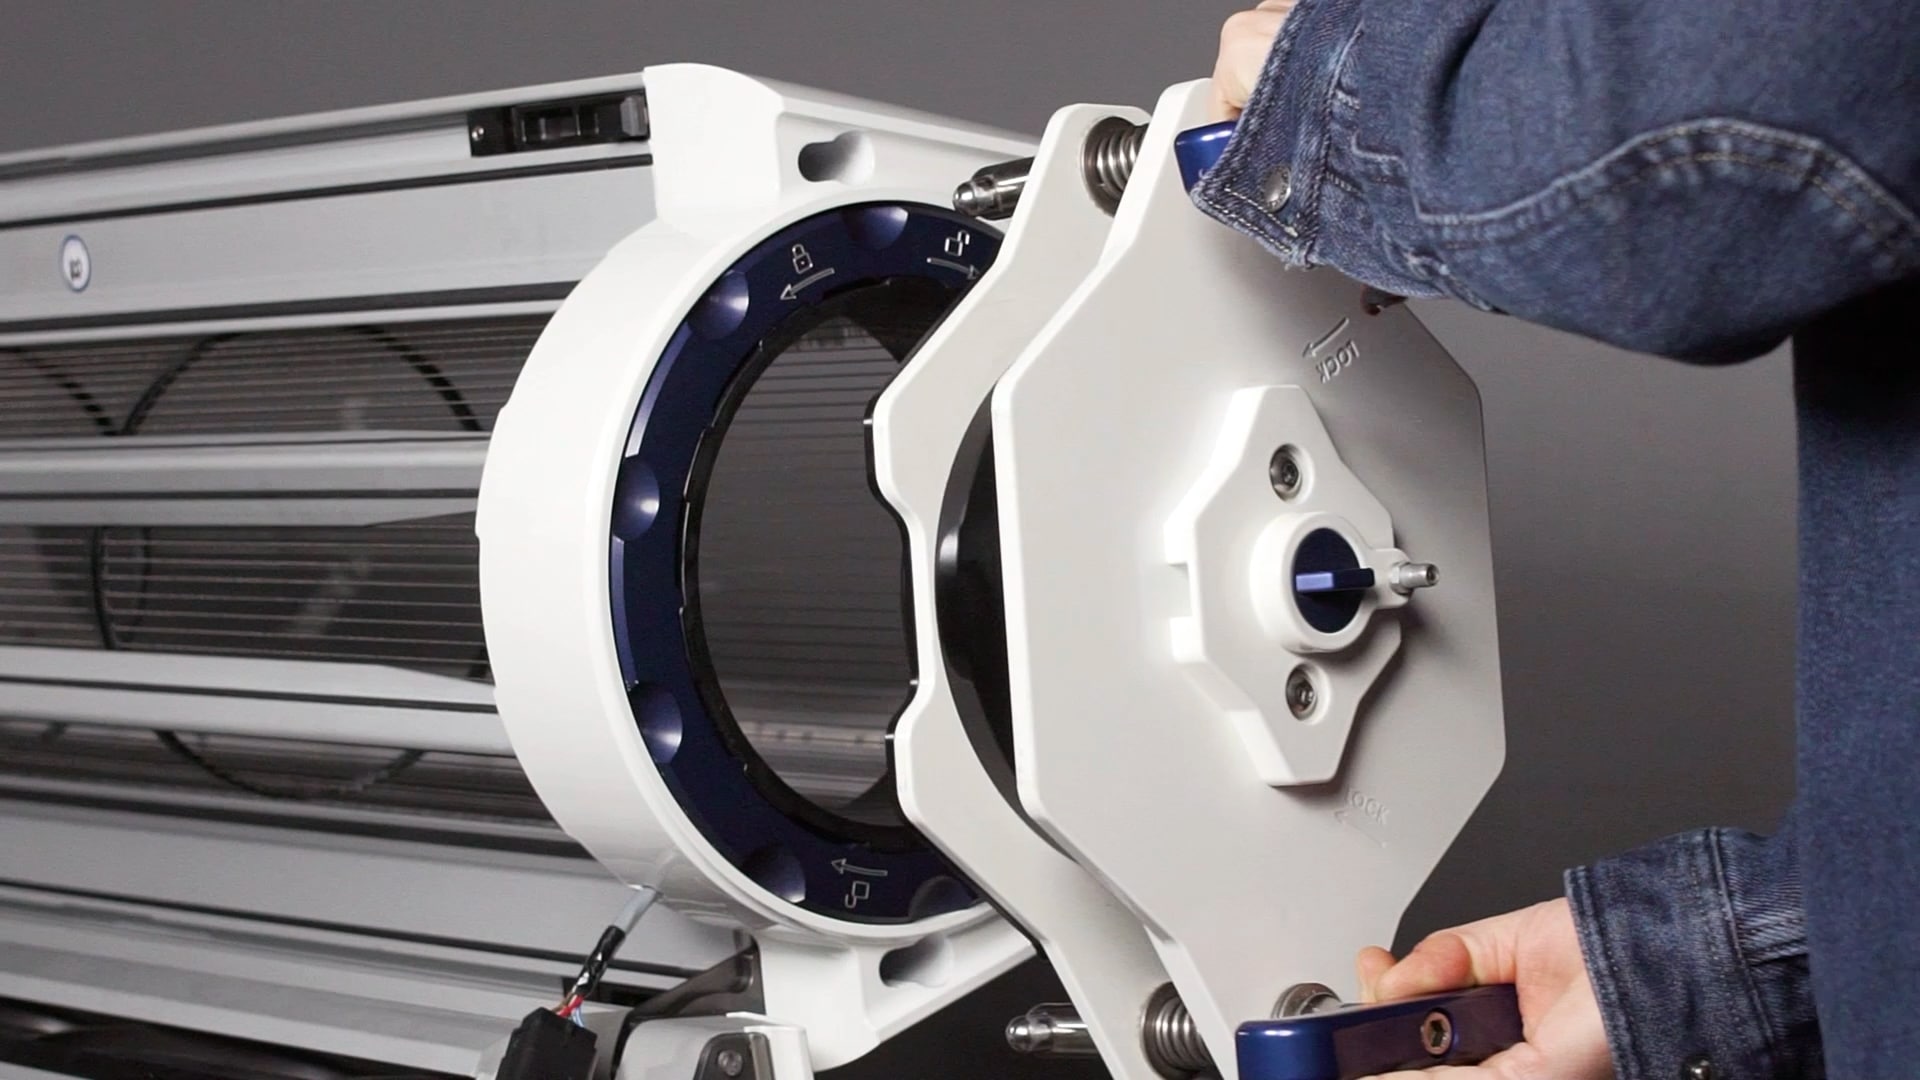
Rotate the Spring Jack handles outward and remove the tool from the lid.
16
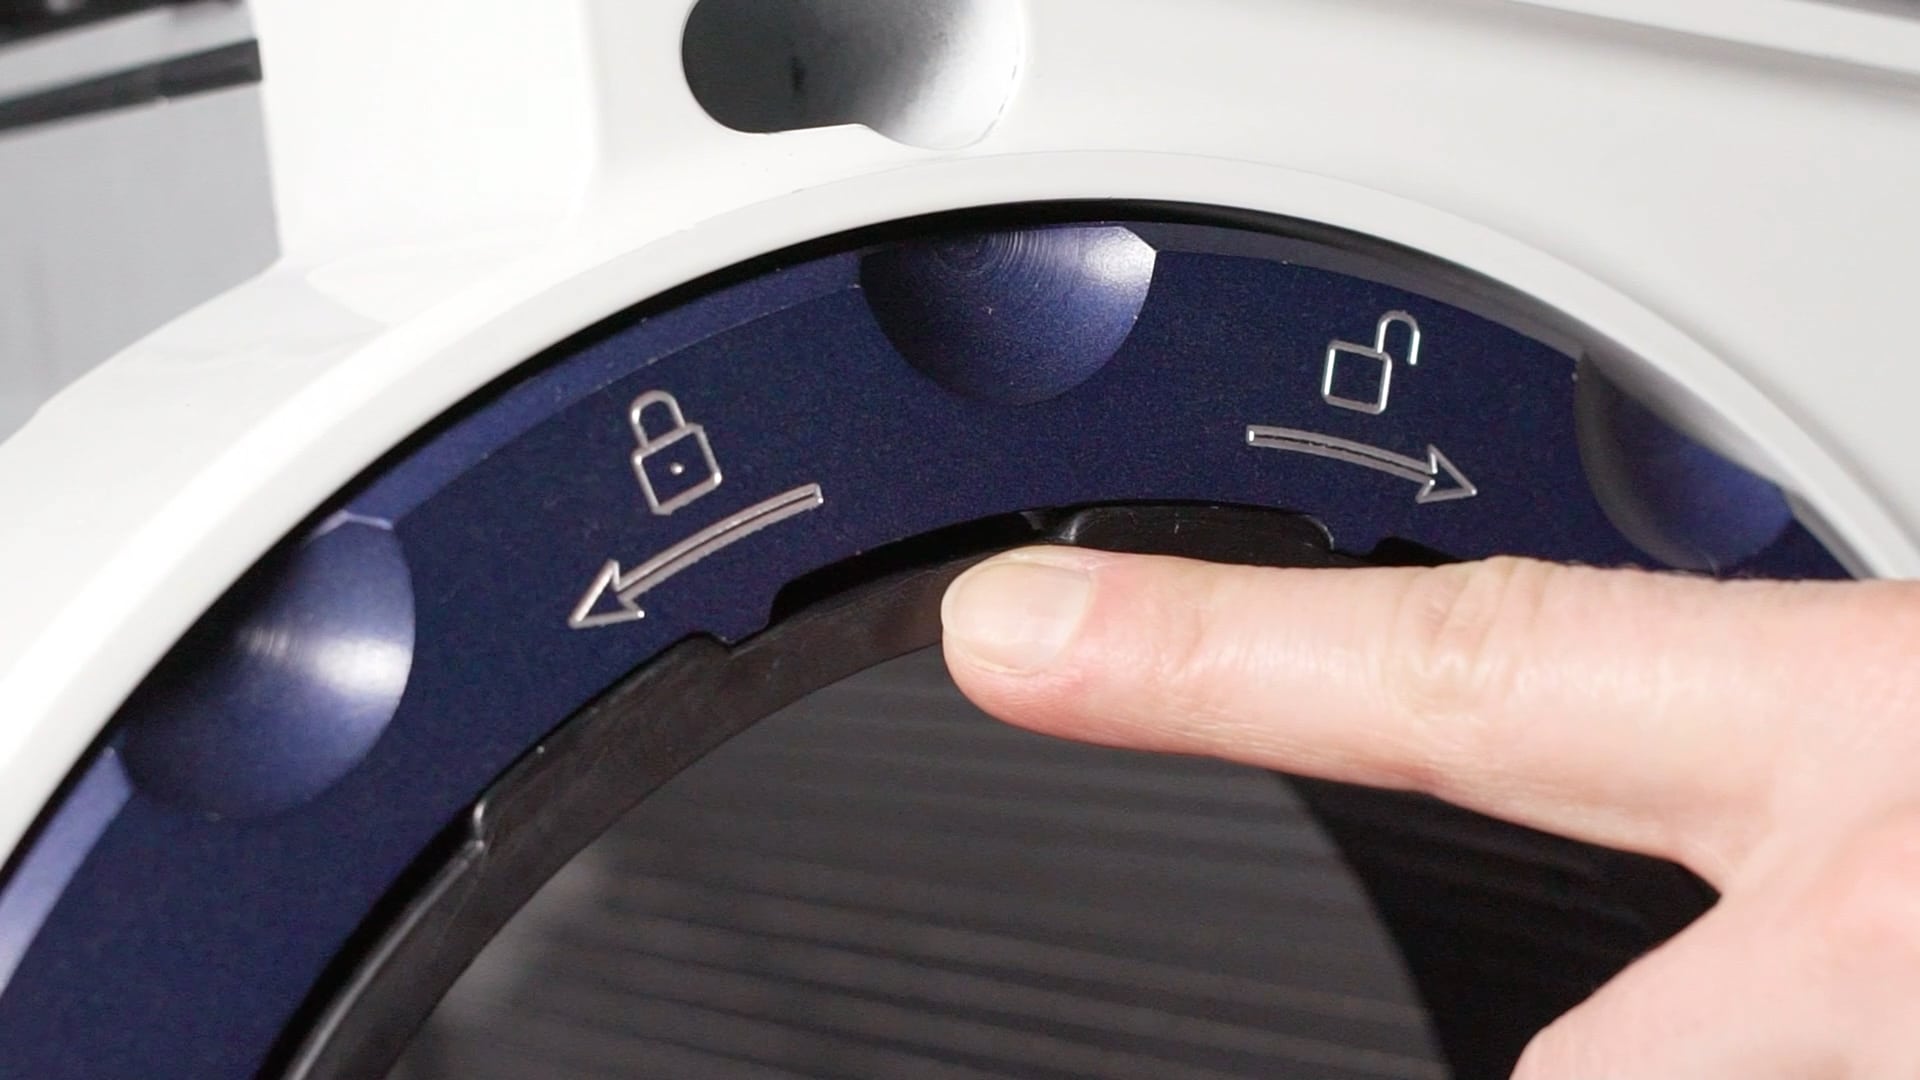
Take a look at the two retaining rings and ensure that the silver tabs are not visible. This means that the rings are fully locked into place.
17
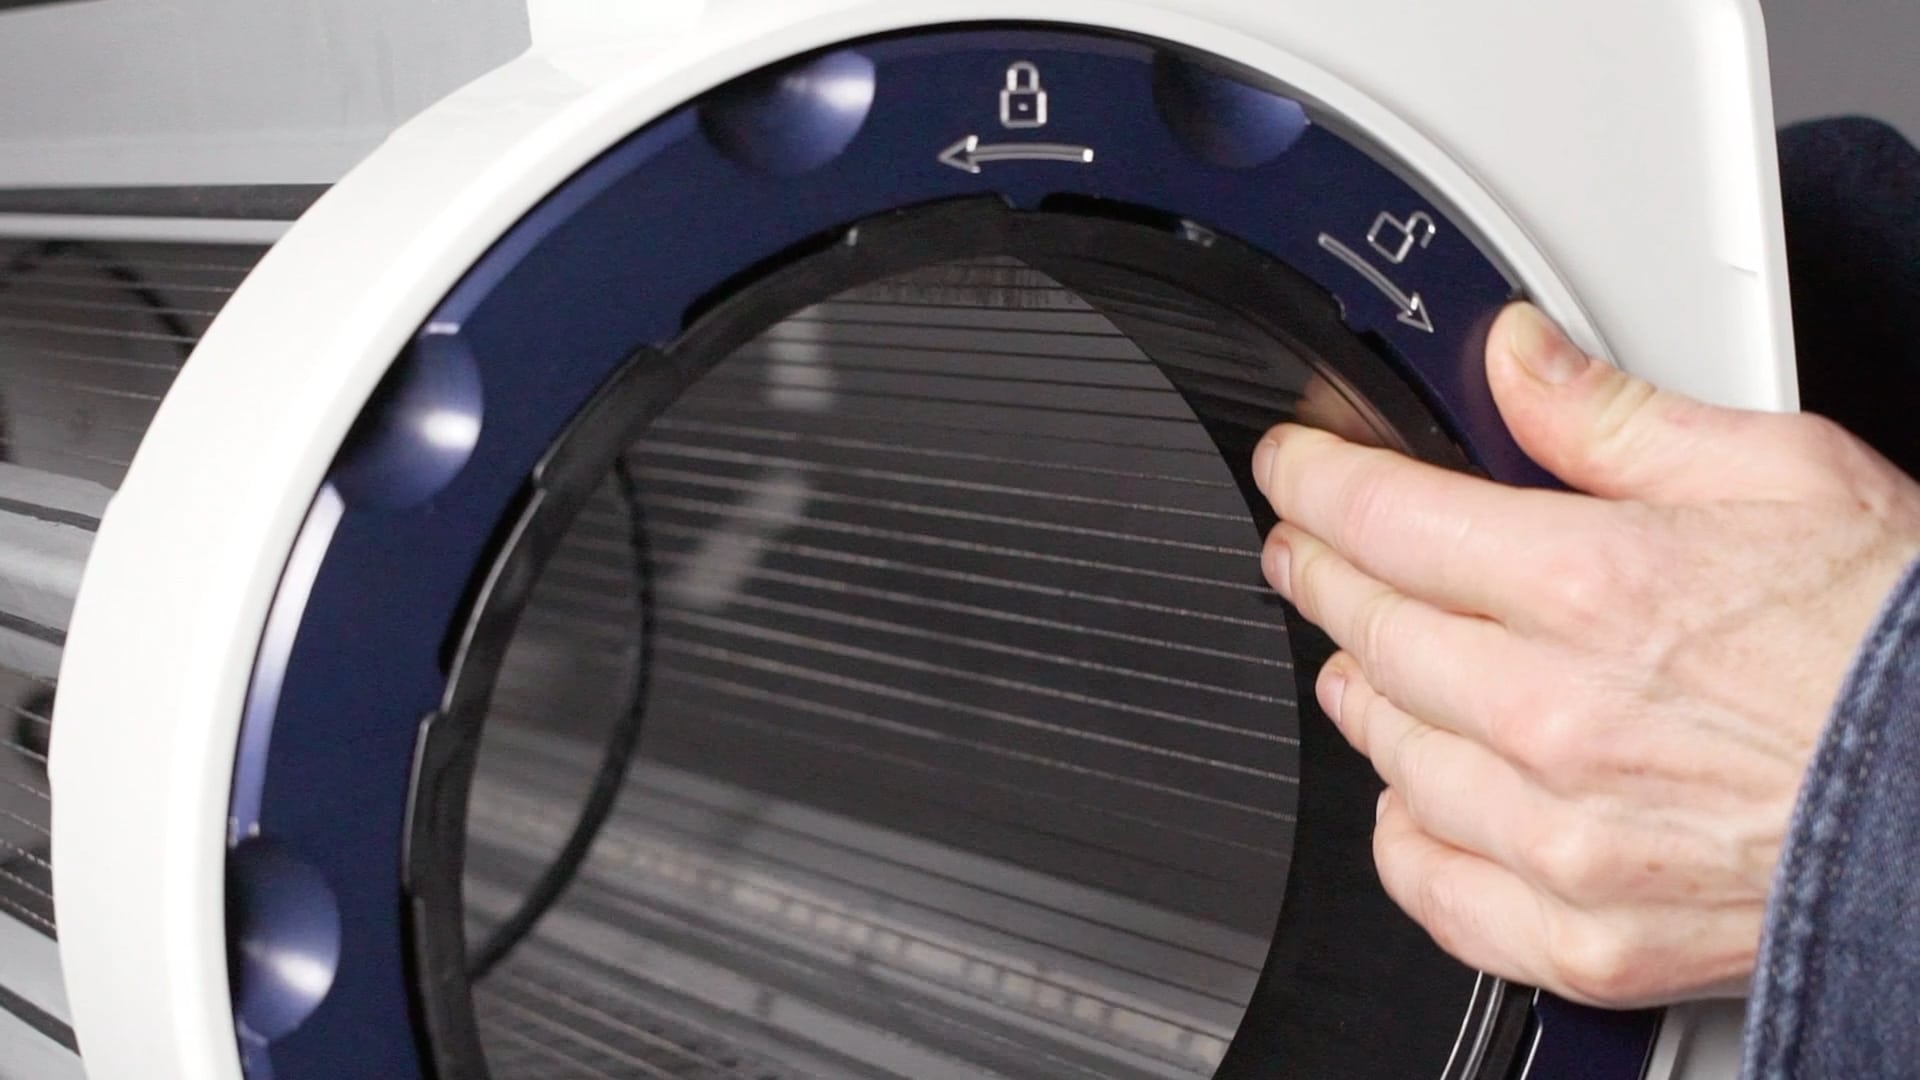
Give the tumbler a quick back and forth rotation to ensure that it moves freely.
18
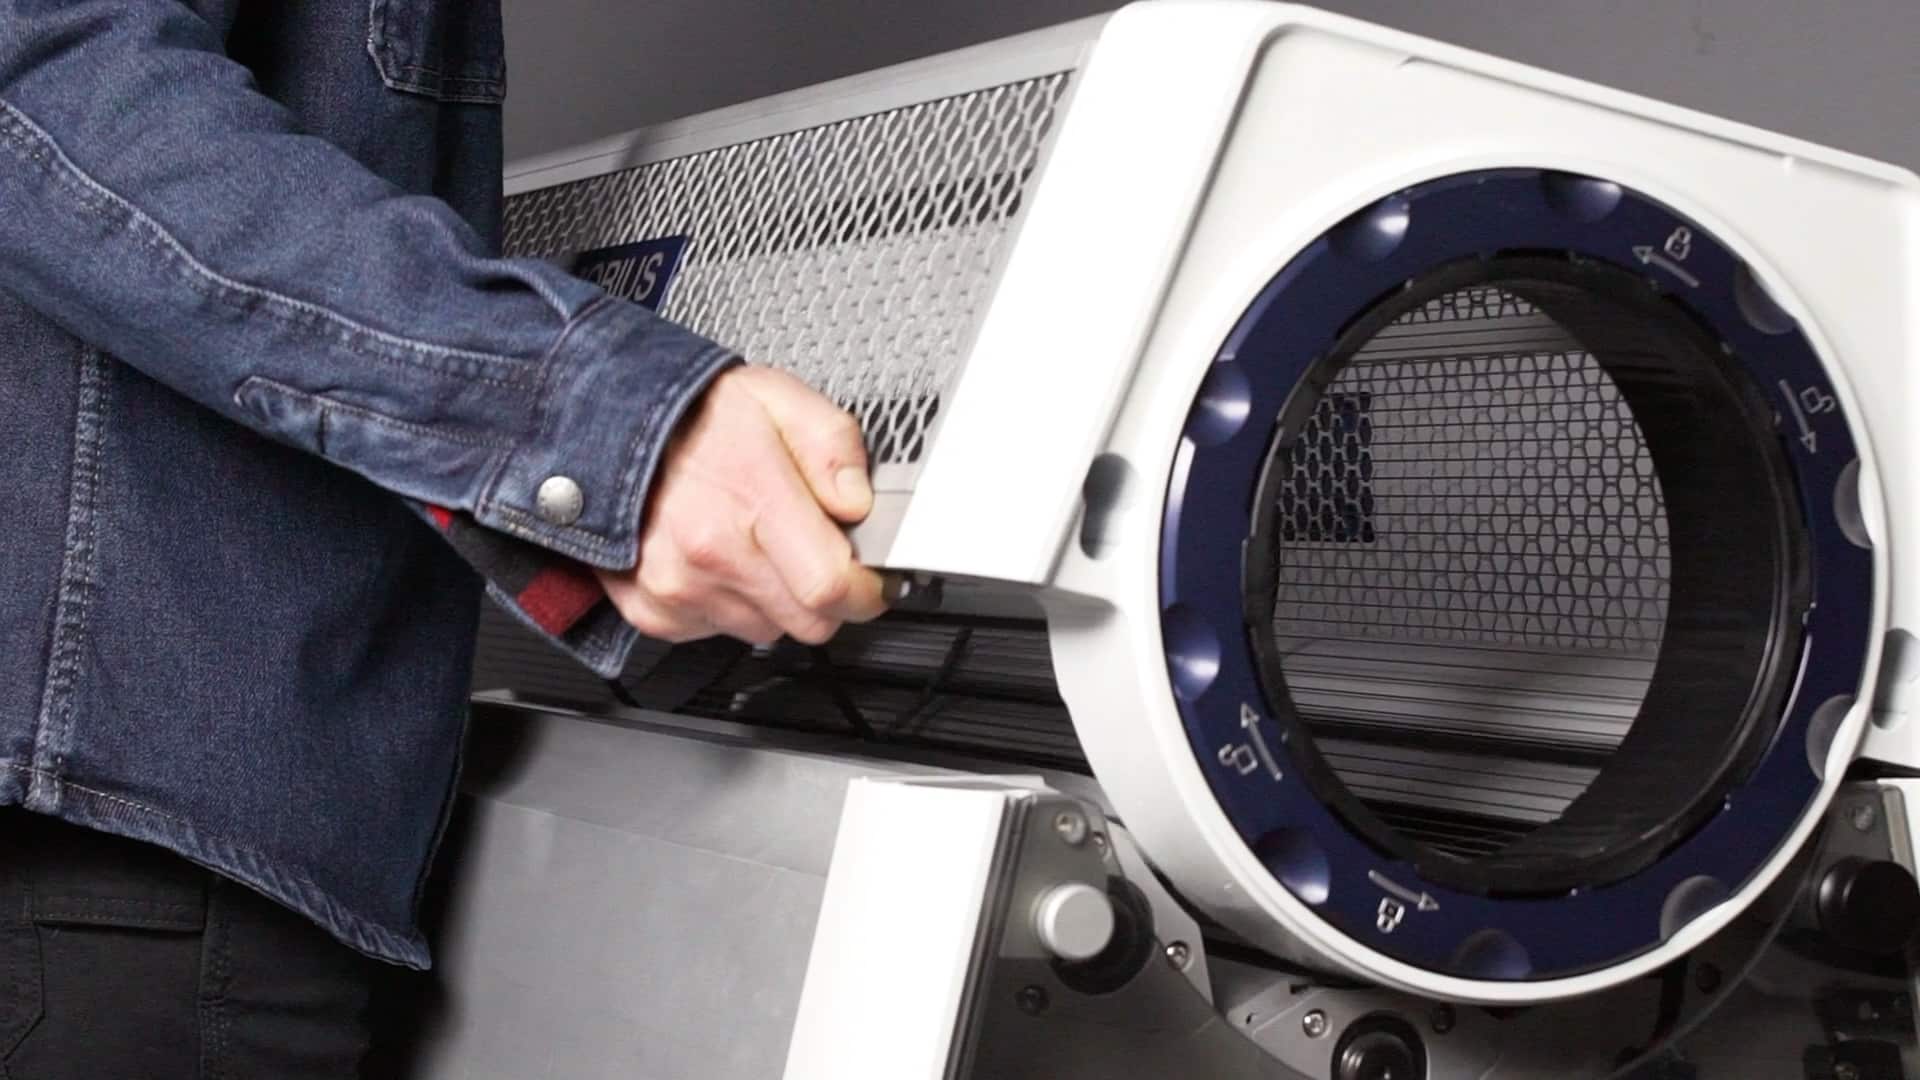
Once you’ve closed the lid, perform a 6-point inspection to ensure that the tumbler and all blade components are properly in place and aligned.
Tumbler Removal
01

Start by locking the trimmer into place and opening the lid.
02
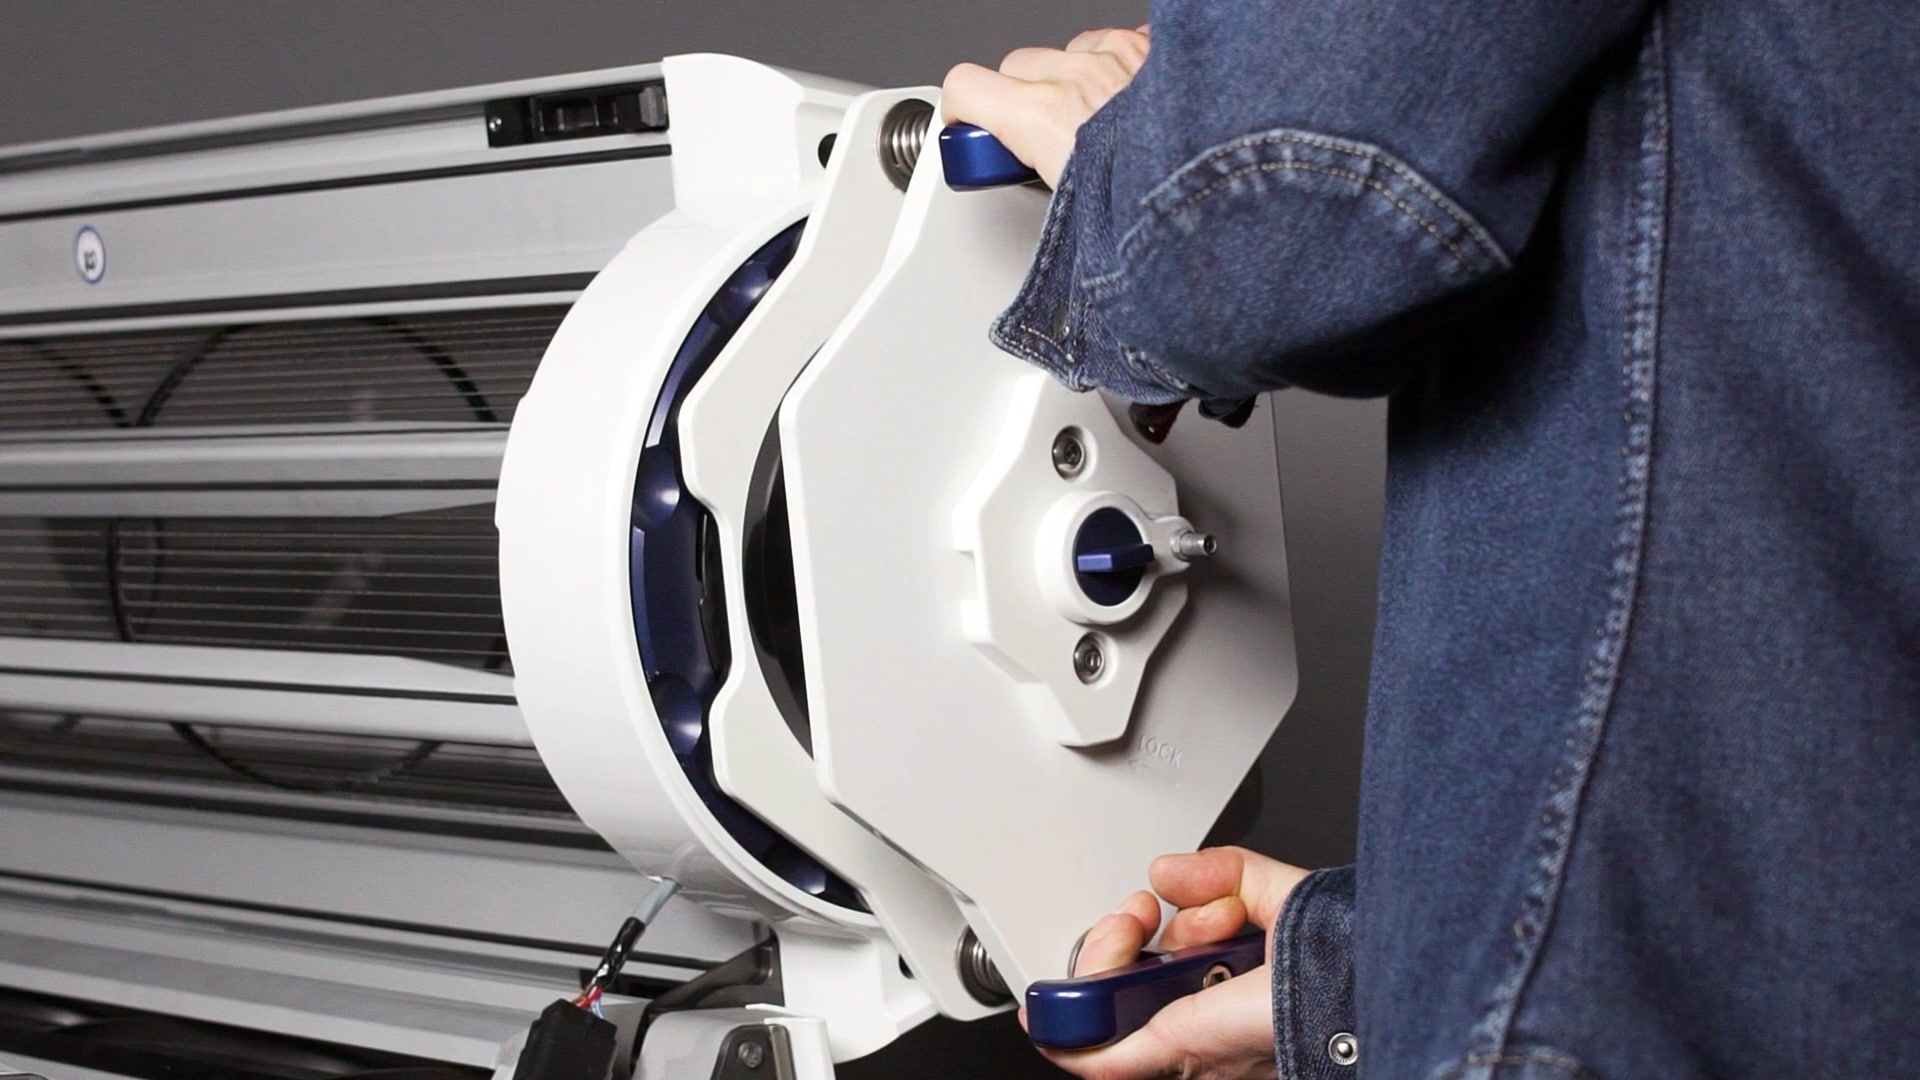
Install the Spring Jack Tool, rotate the handles and valve dial into position and apply enough air to bottom out the Spring Pack.
03

This will relieve the tension on the tumbler.
04

Rotate the retaining ring on the outfeed end clockwise to unlock and then remove it.
05
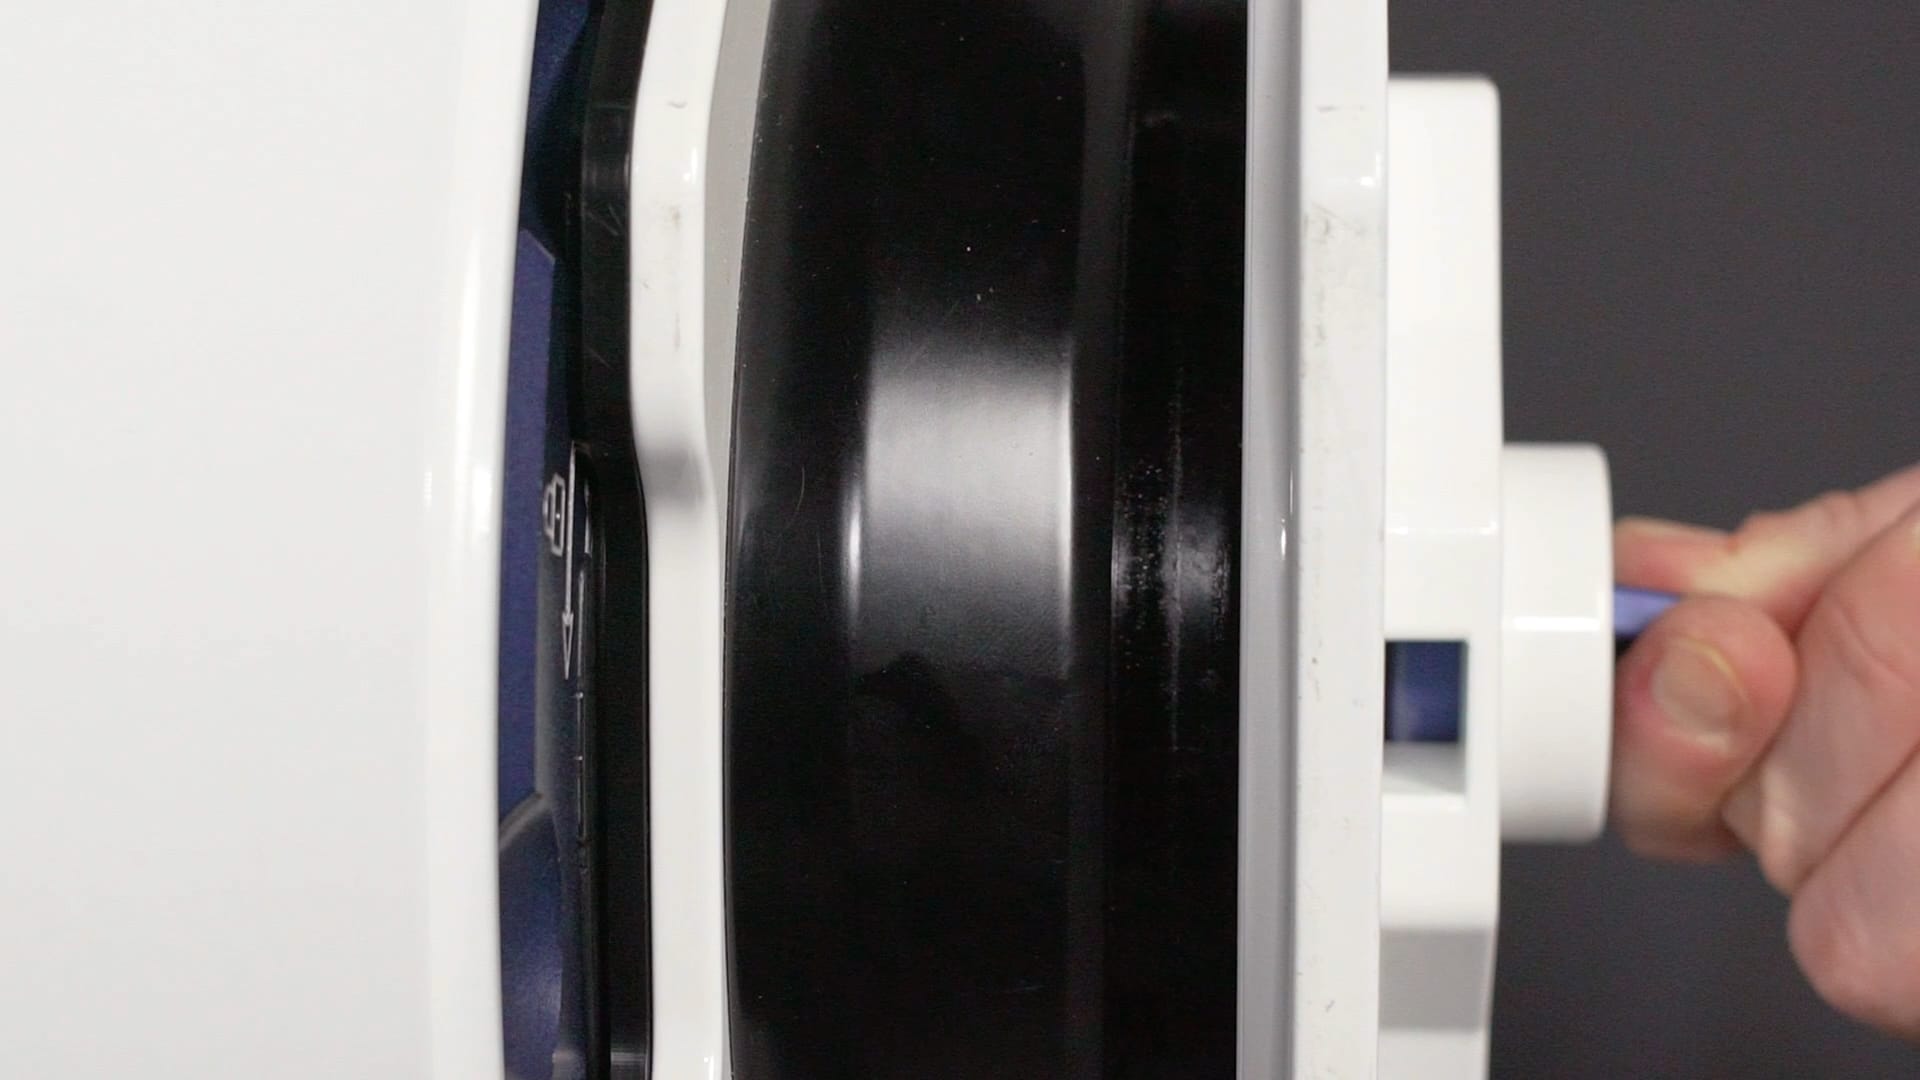
Release the pressure on the Spring Jack by rotating the valve dial and remove the tool from the lid.
06
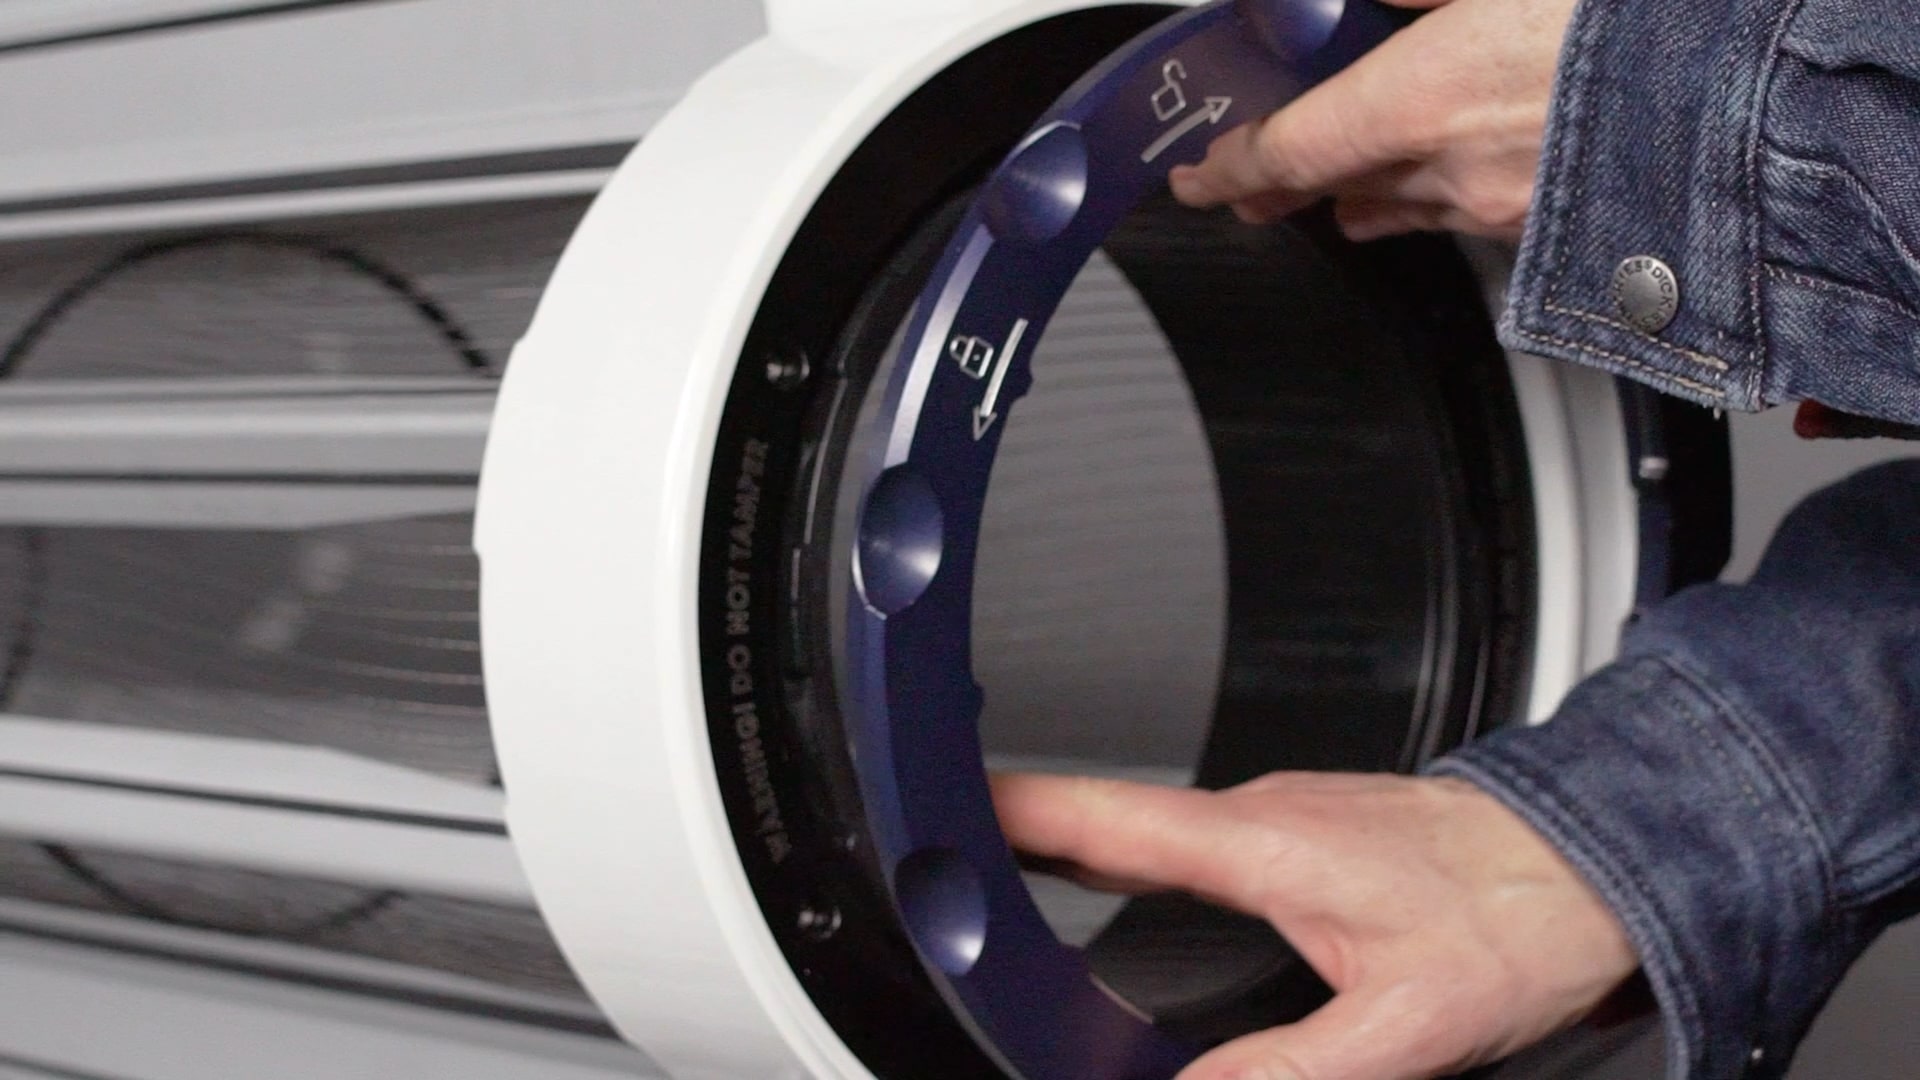
Unlock and remove the other retaining ring.
07
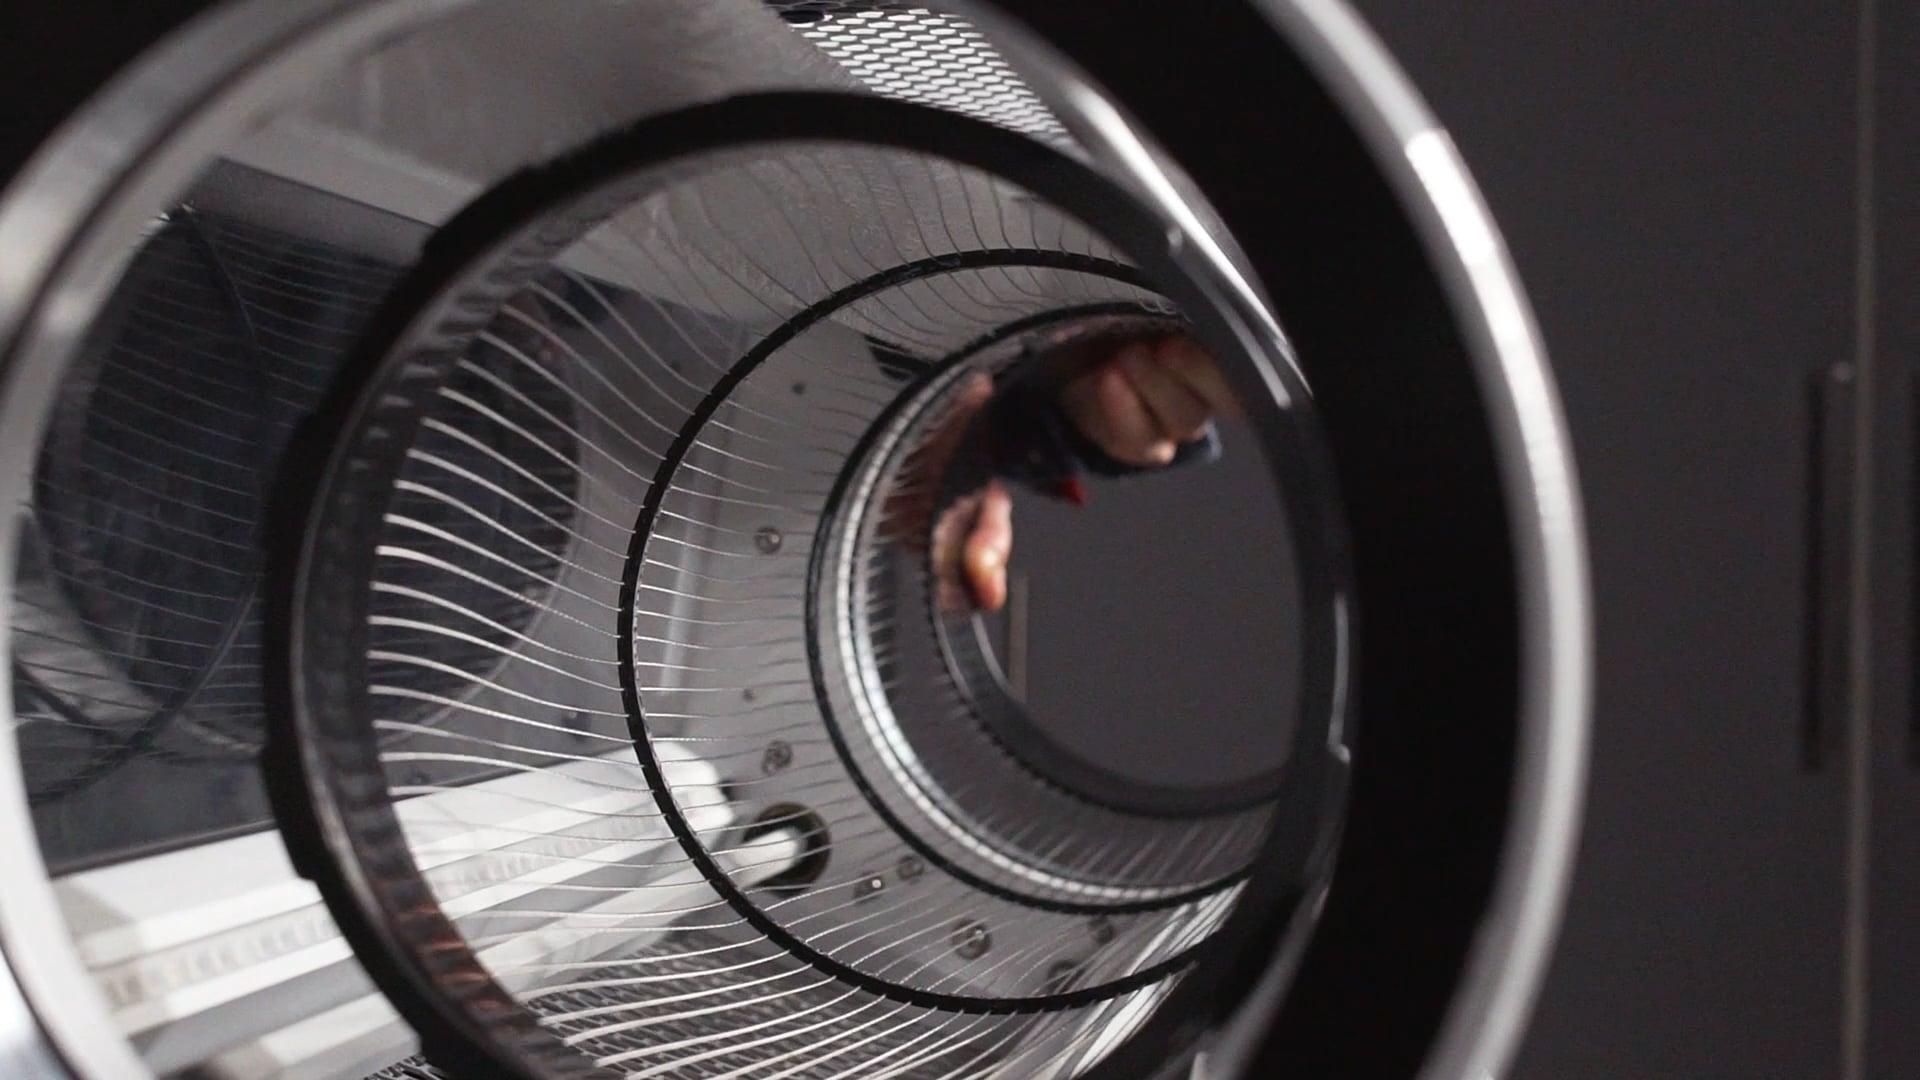
Slide the tumbler out of the lid.


