Lid Bearing Removal & Installation
Mobius M108S Trimmer
Lid Bearing Removal & Installation
This video will detail the removal, cleaning and replacement of the Black Rings in the ends of the M108S Lid
Step by Step
01

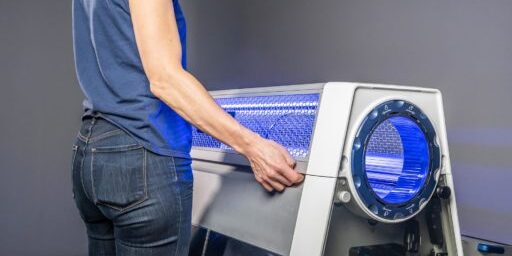
Remove the lid and set it in on a stable work surface. Using a 1/8" Allen key, loosen the bolts holding the hex bar in place.
02

The bolts have blue LocTite on the threads. If they're difficult to crack, heat the head with a small butane torch to free the bond. Make the choice to use heat before you strip the bolt head!
03

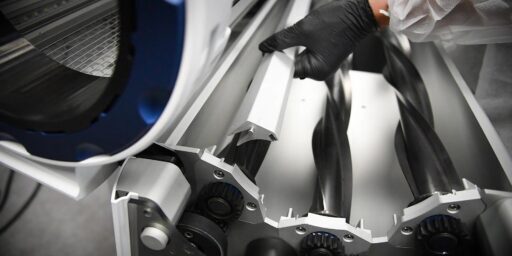
Loosen the bolts far enough to slide the hex bar away. disengaging the hex bar drive from the black ring.
The black rings (Sun Gear on the outfeed end and Spring Pack on the infeed side) are held in place by friction. A compressed O-Rings grips the bearing and holds the black ring in the white end-cap of the lid, known as the Edna. To dislodge the black ring, we'll use a bit of inertia and a sudden stop.
04

Put some padding on the floor. Stand the lid on end. Lift the lid a few inches off the floor and bring it back down squarely on the pad. You may have to do this a few times to create a gap between the black ring and the white Edna.
05
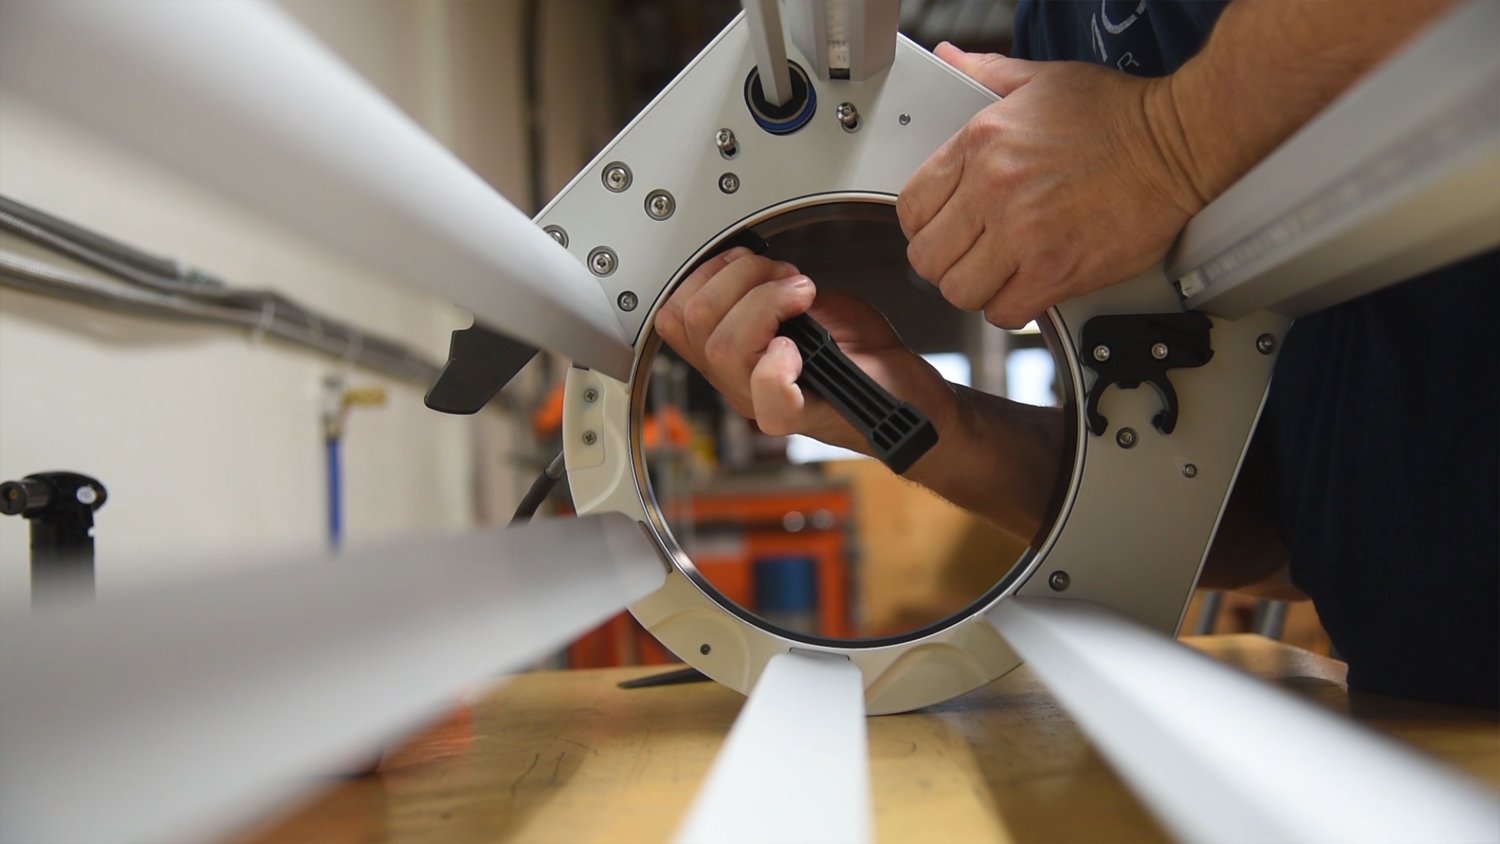
Place the lid back on your work surface. Using a plastic pry, widen the gap uniformly, being careful not to cock the black ring diagonally within the Edna. If using a metal pry bar, use a piece of cloth between the components and pry bar. Be careful not to dig into the black ring or the Edna with your pry.
06
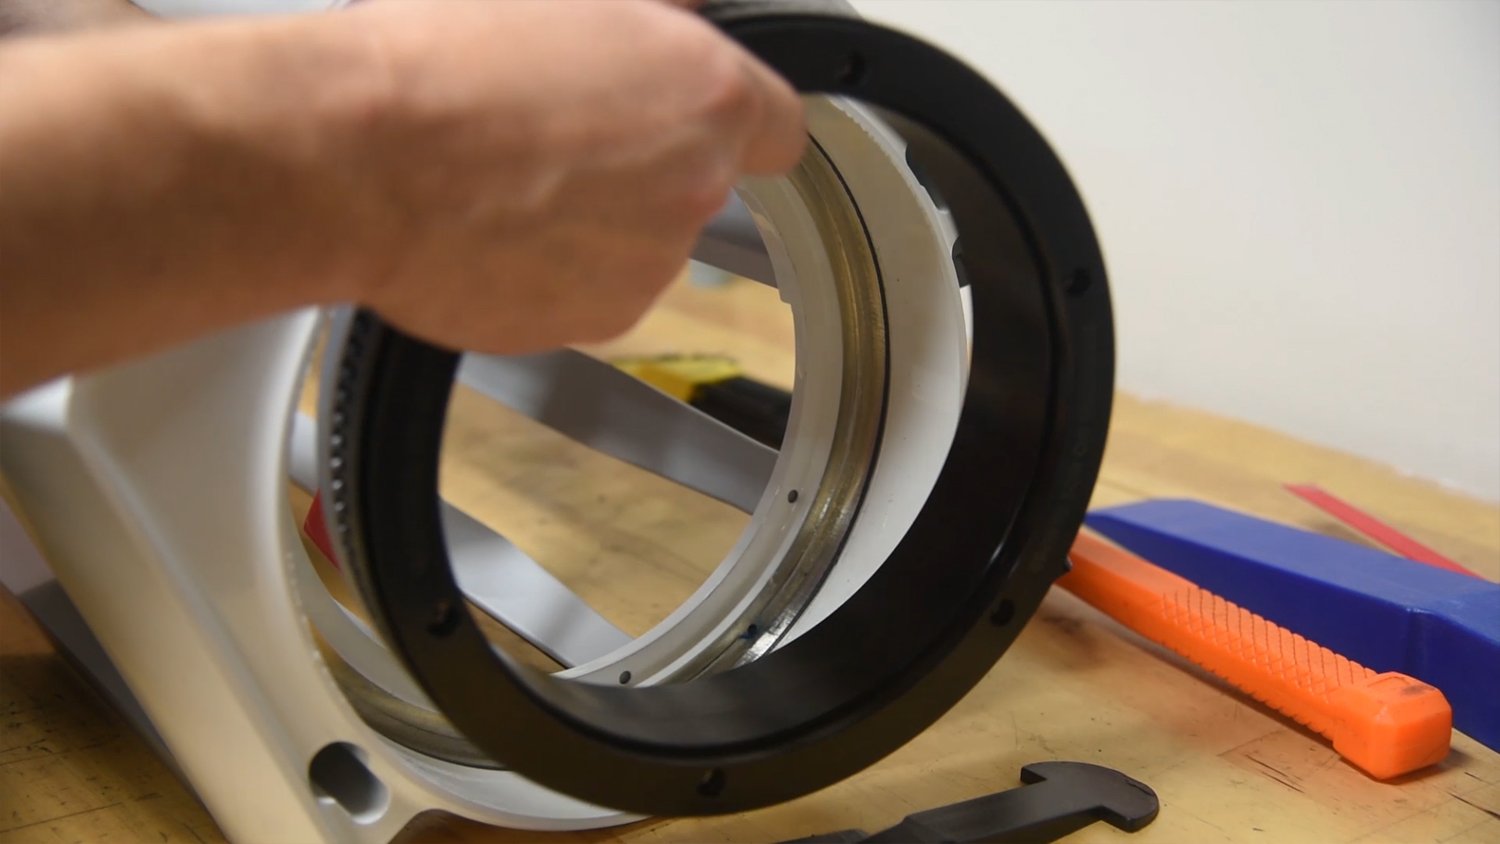
Now that you have the black rings removed let's clean the Edna and the gear teeth.
07
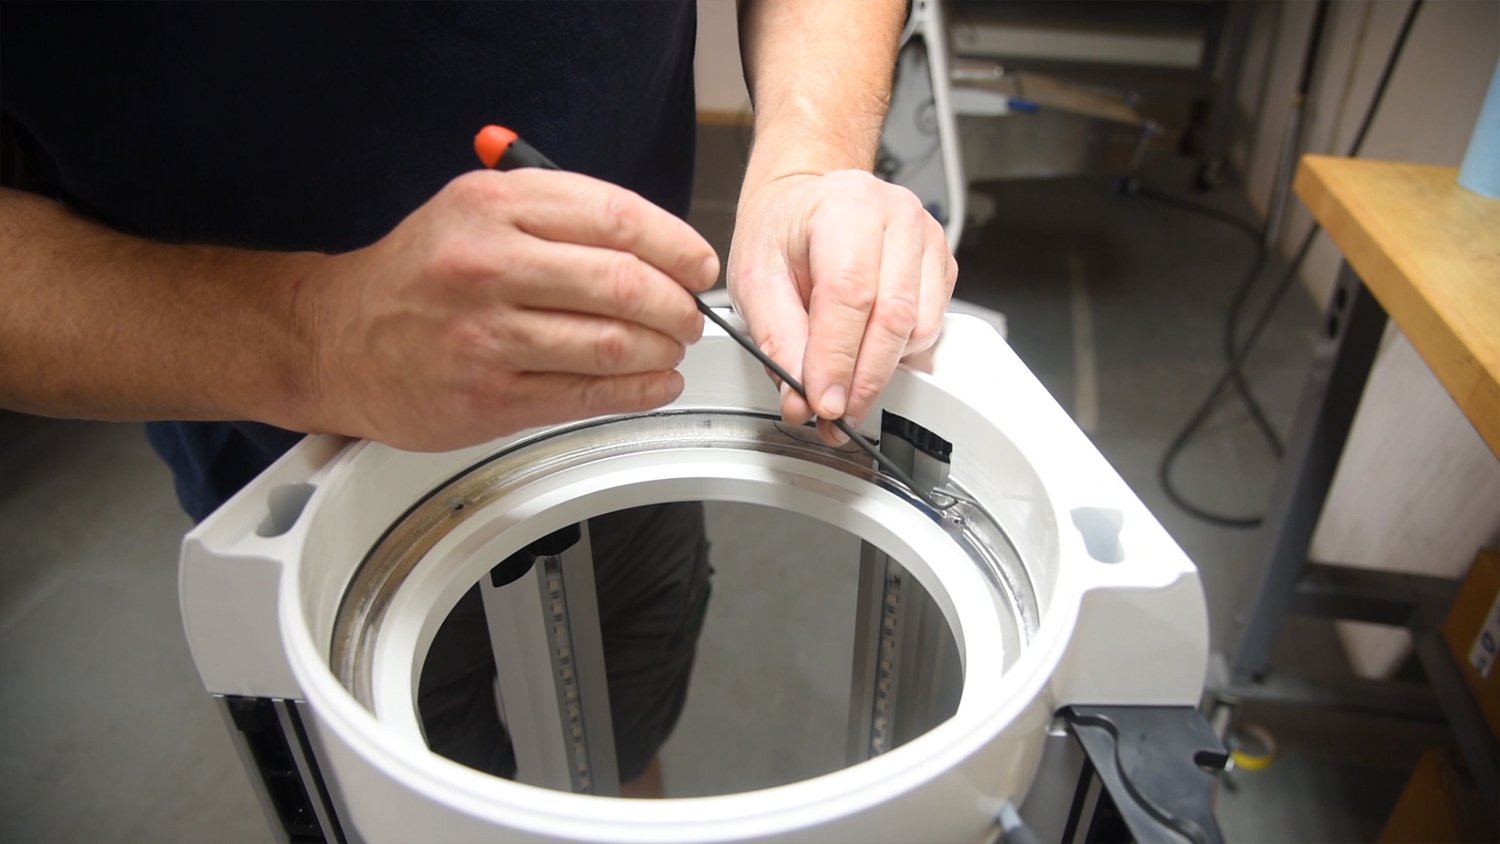
With the black ring removed, set the lid on end again but with the end you're working on facing up. Use a pick to gently lift the O-Ring cord out of its seat.
09
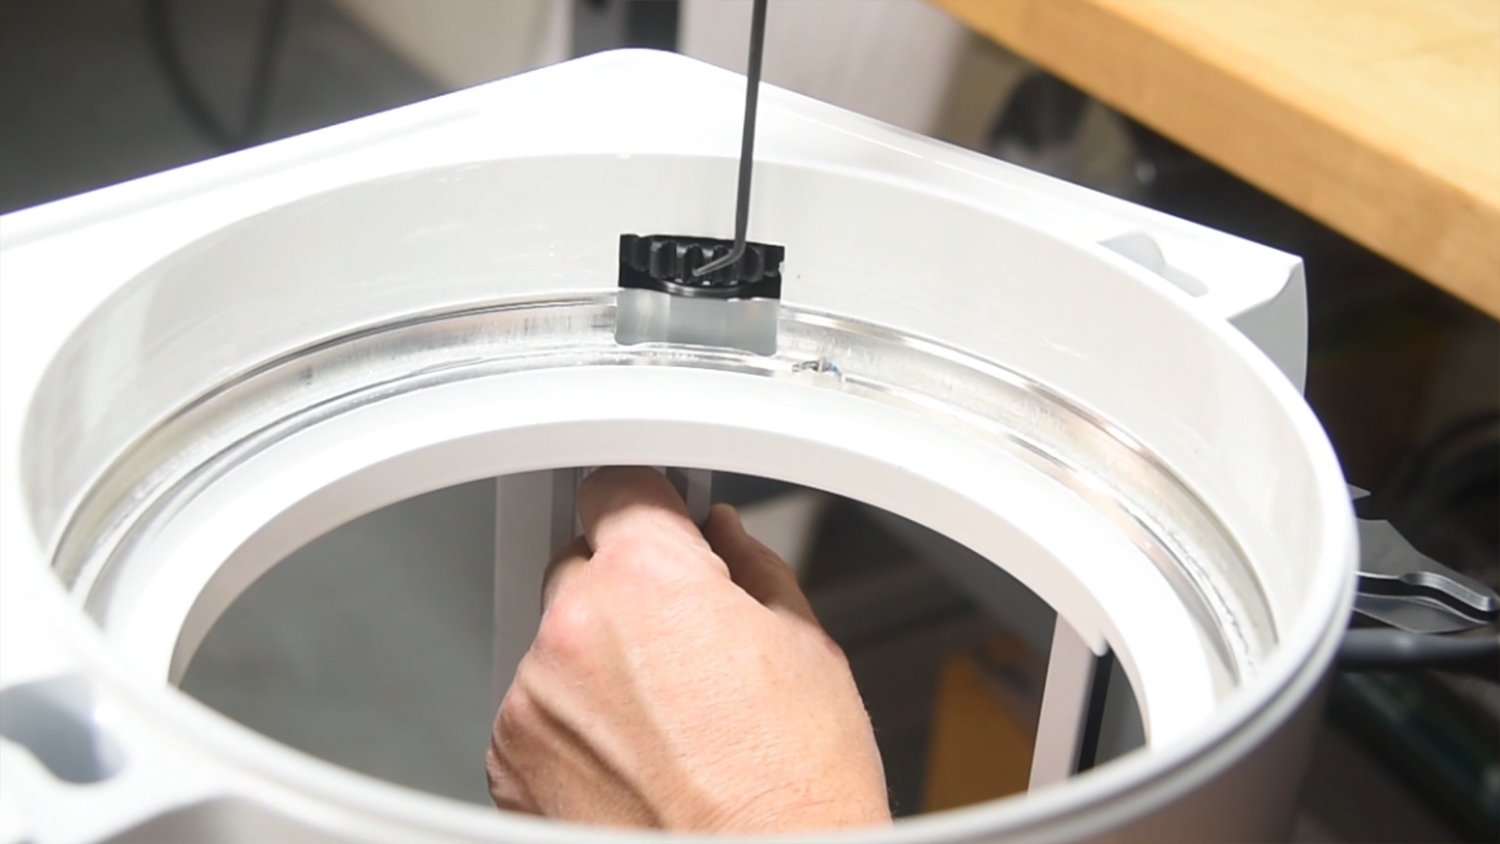
Loosen the hex bar bolts a bit and move the hex bar drive into the access window where it can be cleaned.
10

You may need to use a pick, a degreaser and compressed air to clean each tooth of the drive cog. Once cleaned, swing the hex bar back out of the way and gently tighten the bolts.
11

You may find soiled grease, plant material or bits of O-Ring cord inside the Edna. Use a degreaser and a rag to clean it.
12

To reinstall the O-Ring cord, apply SuperLube to the length of the cord.
13

Make sure the O-Ring cord doesn't protrude into the drive gear window.
14

Press the cord into the groove, again being careful not to stretch it in the process.
15

Once fully installed, the O-Ring should be the right length - neither end should enter the cutout window. If you stretched the cord, just remove it and try again being extra-careful not to stretch it during installation.
16

Add a good bead of SuperLube to the leading edge of the O-Ring to assist in pressing the black ring back into the Edna.
There is an optional further step to remove the bearing from the black ring. If you're having trouble with this part, follow steps 26 on (below) to see how to take it apart clean it and reinstall it. If not follow along with the next steps to reinstall the black ring in the lid.
Pressing the black ring into the Edna can be tricky! Sometimes it pops right in and other times it takes several attempts. Be patient, you'll get it! The key is that it must get pressed in squarely. The tolerances are pretty tight, so cocking the black ring to one side will make it impossible to fit in the Edna.
17

Set the black ring onto the O-Ring, ensuring an even touch-down.
18

Begin pressing down on the black ring. Use your fingertips between the black ring and Edna to act as a buffer, preventing over-pressing in that spot.
19

If your black ring gets pushed too far down on one side, use your plastic pry to remove it. Double-check there isn't any debris in the Edna and try again.
20

Once you get the O-Ring gripping the bearing, you may need to use a soft deadblow mallet to seat it all the way home. Use small, even taps to finish seating the black ring.
21

Let's reinstall the hex bar. Loosen the bolts and slide it back into position.
22

Remove each bolt one at a time. Apply blue LocTite to the leading threads and reinstall that bolt before removing the next bolt.
23

Tighten the bolts almost all the way, but leave them just loose enough to wiggle the hex bar. The bolt head should have a tiny bit of wiggle-room within the round recess it's installed through.
24

Push the hex bar away from the black ring that fraction of an inch that's available.
25

Tighten the bolts. This prevents excessive gear-lash. Repeat on the other end of the lid, and you're all done!
OPTIONAL STEP - REMOVING THE BEARING FROM THE BLACK RING
The bearing is a press-fit on the black ring. We'll use inertia and a sudden stop to dislodge it.
26

Place a cloth on a solid work surface. Squarely bump the black ring down on the surface to cause the bearing to slide down the hub of the black ring. Use this method until the bearing touches the table top.
27

These bearing are directional. Force must not be applied to the outer race against the direction of the arrow printed on the side of the bearing race.
28

Use a soft pry, and pry only the inner race to remove the bearing from the black ring.
29

With the bearing removed, assess its condition and clean or replace as necessary.
30

Clean the black ring.
31

To install the bearing, find the directional arrow and install in that direction.
32

Gently and evenly tap the bearing into place using a soft mallet and a block of plastic, brass or wood to fully seat the bearing on the black ring.
33

Give it a spin by hand. Look to see it's fully installed and turning smoothly.
Refer to steps 17 onwards to reinstall the black ring in the lid.
